This module was more geared towards looking at design elements and colour theory rather than knitting.
Activity 1
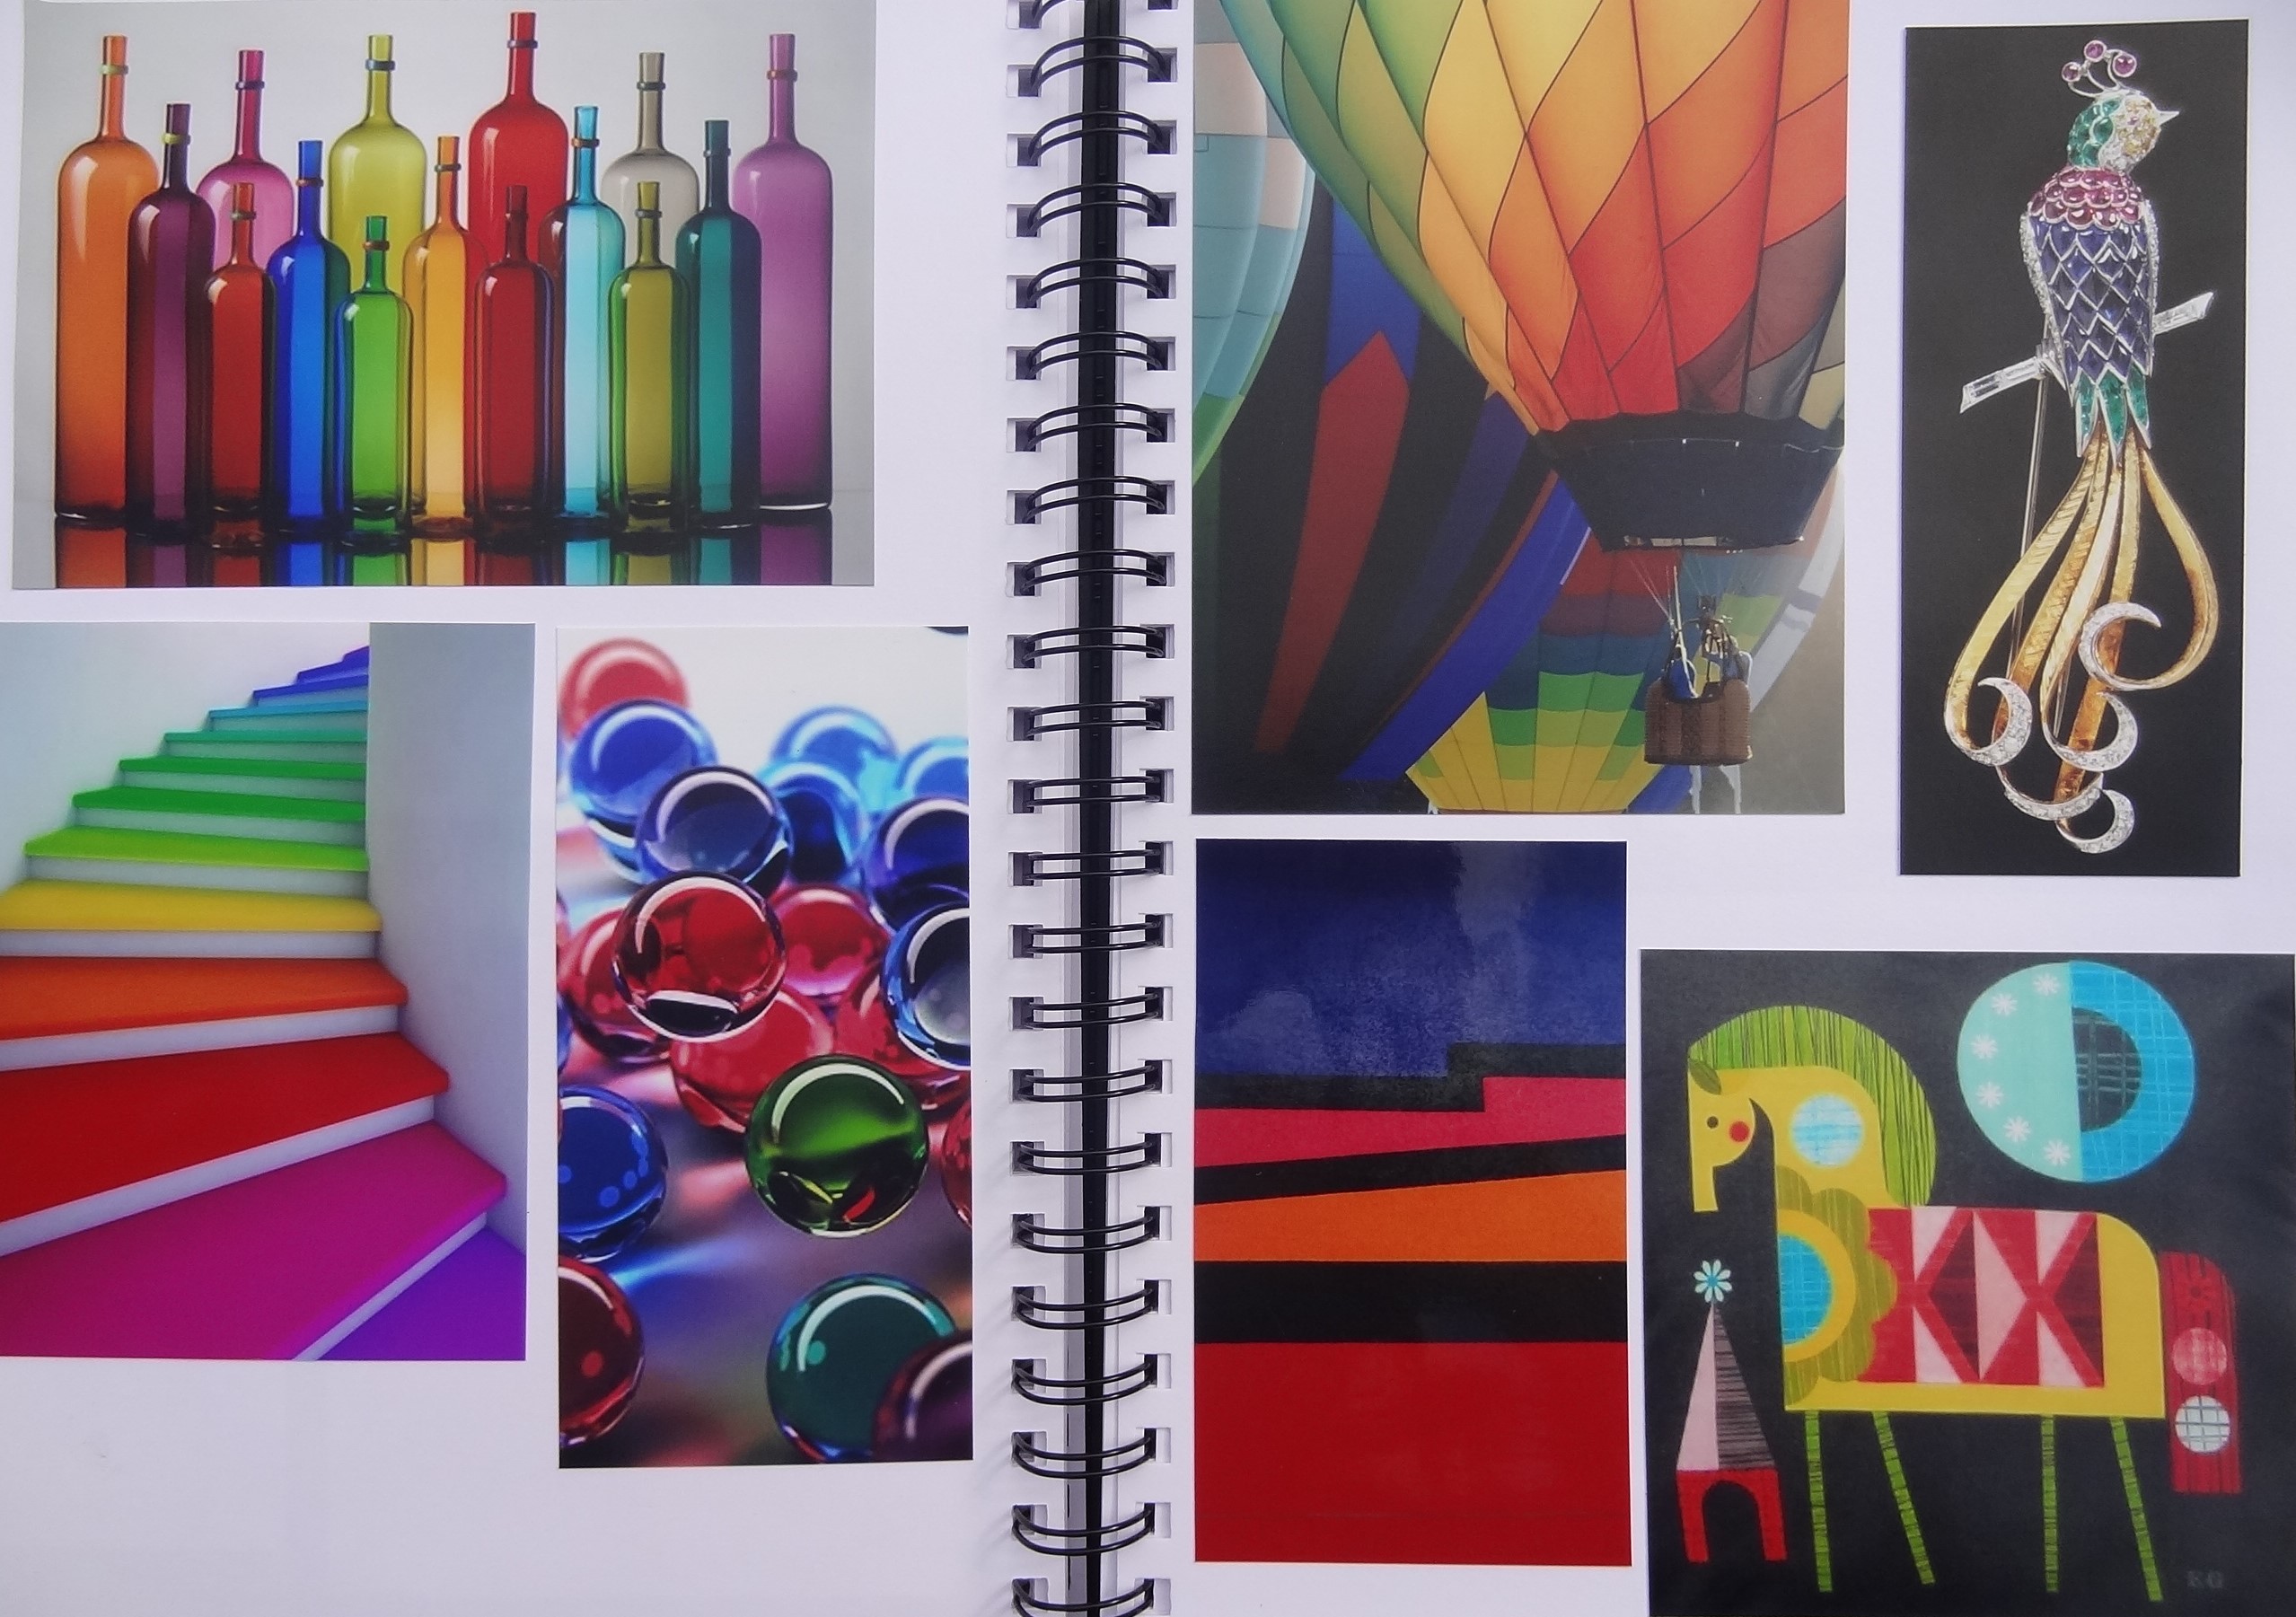
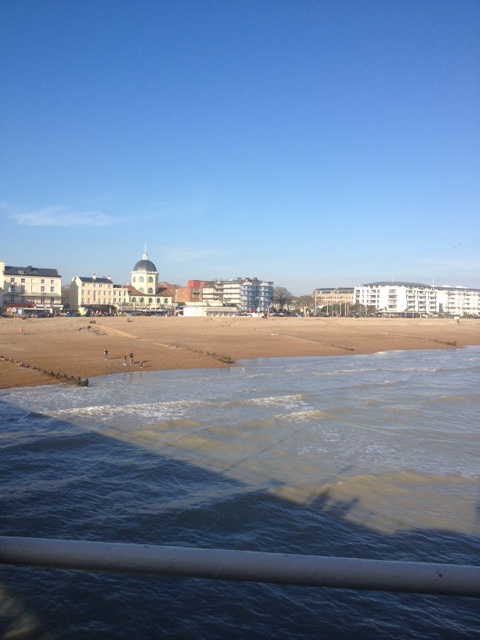
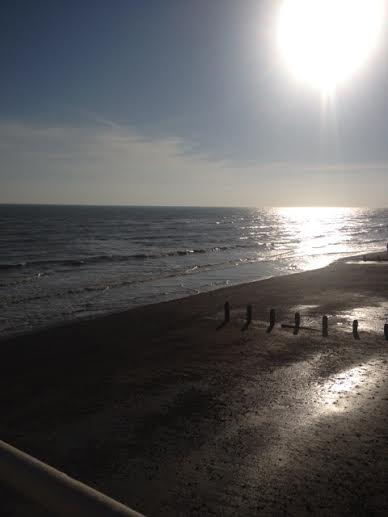
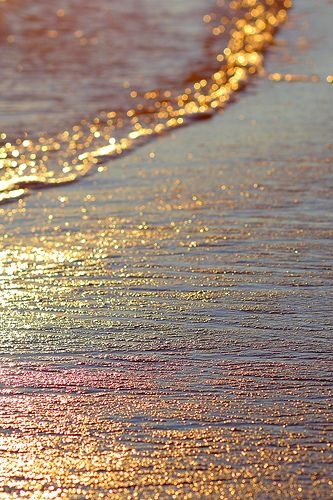
The first part of the module was to collect a variety of images that explored colour. As well as using my own photo’s, magazine cuttings and postcards I also spent a good few hours searching through Pinterest to get some good images.


Activity 2 – Painting a Colour Wheel
I had to have a few goes at this to get a better contrast between the orange and red sections, although you still can’t really tell the difference in this picture!

Activities 3 and 4
Activity 3 looked at adding small amounts of black and white to a pure colour to get different tints and shades, and activity 4 was about working with 2 complimentary colours and creating a ‘colour cross’ by mixing them together little by little.
Activity 5 – Painting a range of Tertiary Colours

Starting with 2 primary colours in each corner, a very small amount of the other colour was added to the mix and the next box was painted. The idea is that by the time you reached the middle you should have the perfect secondary colour! The exercise was also done using blue to yellow and red to blue.
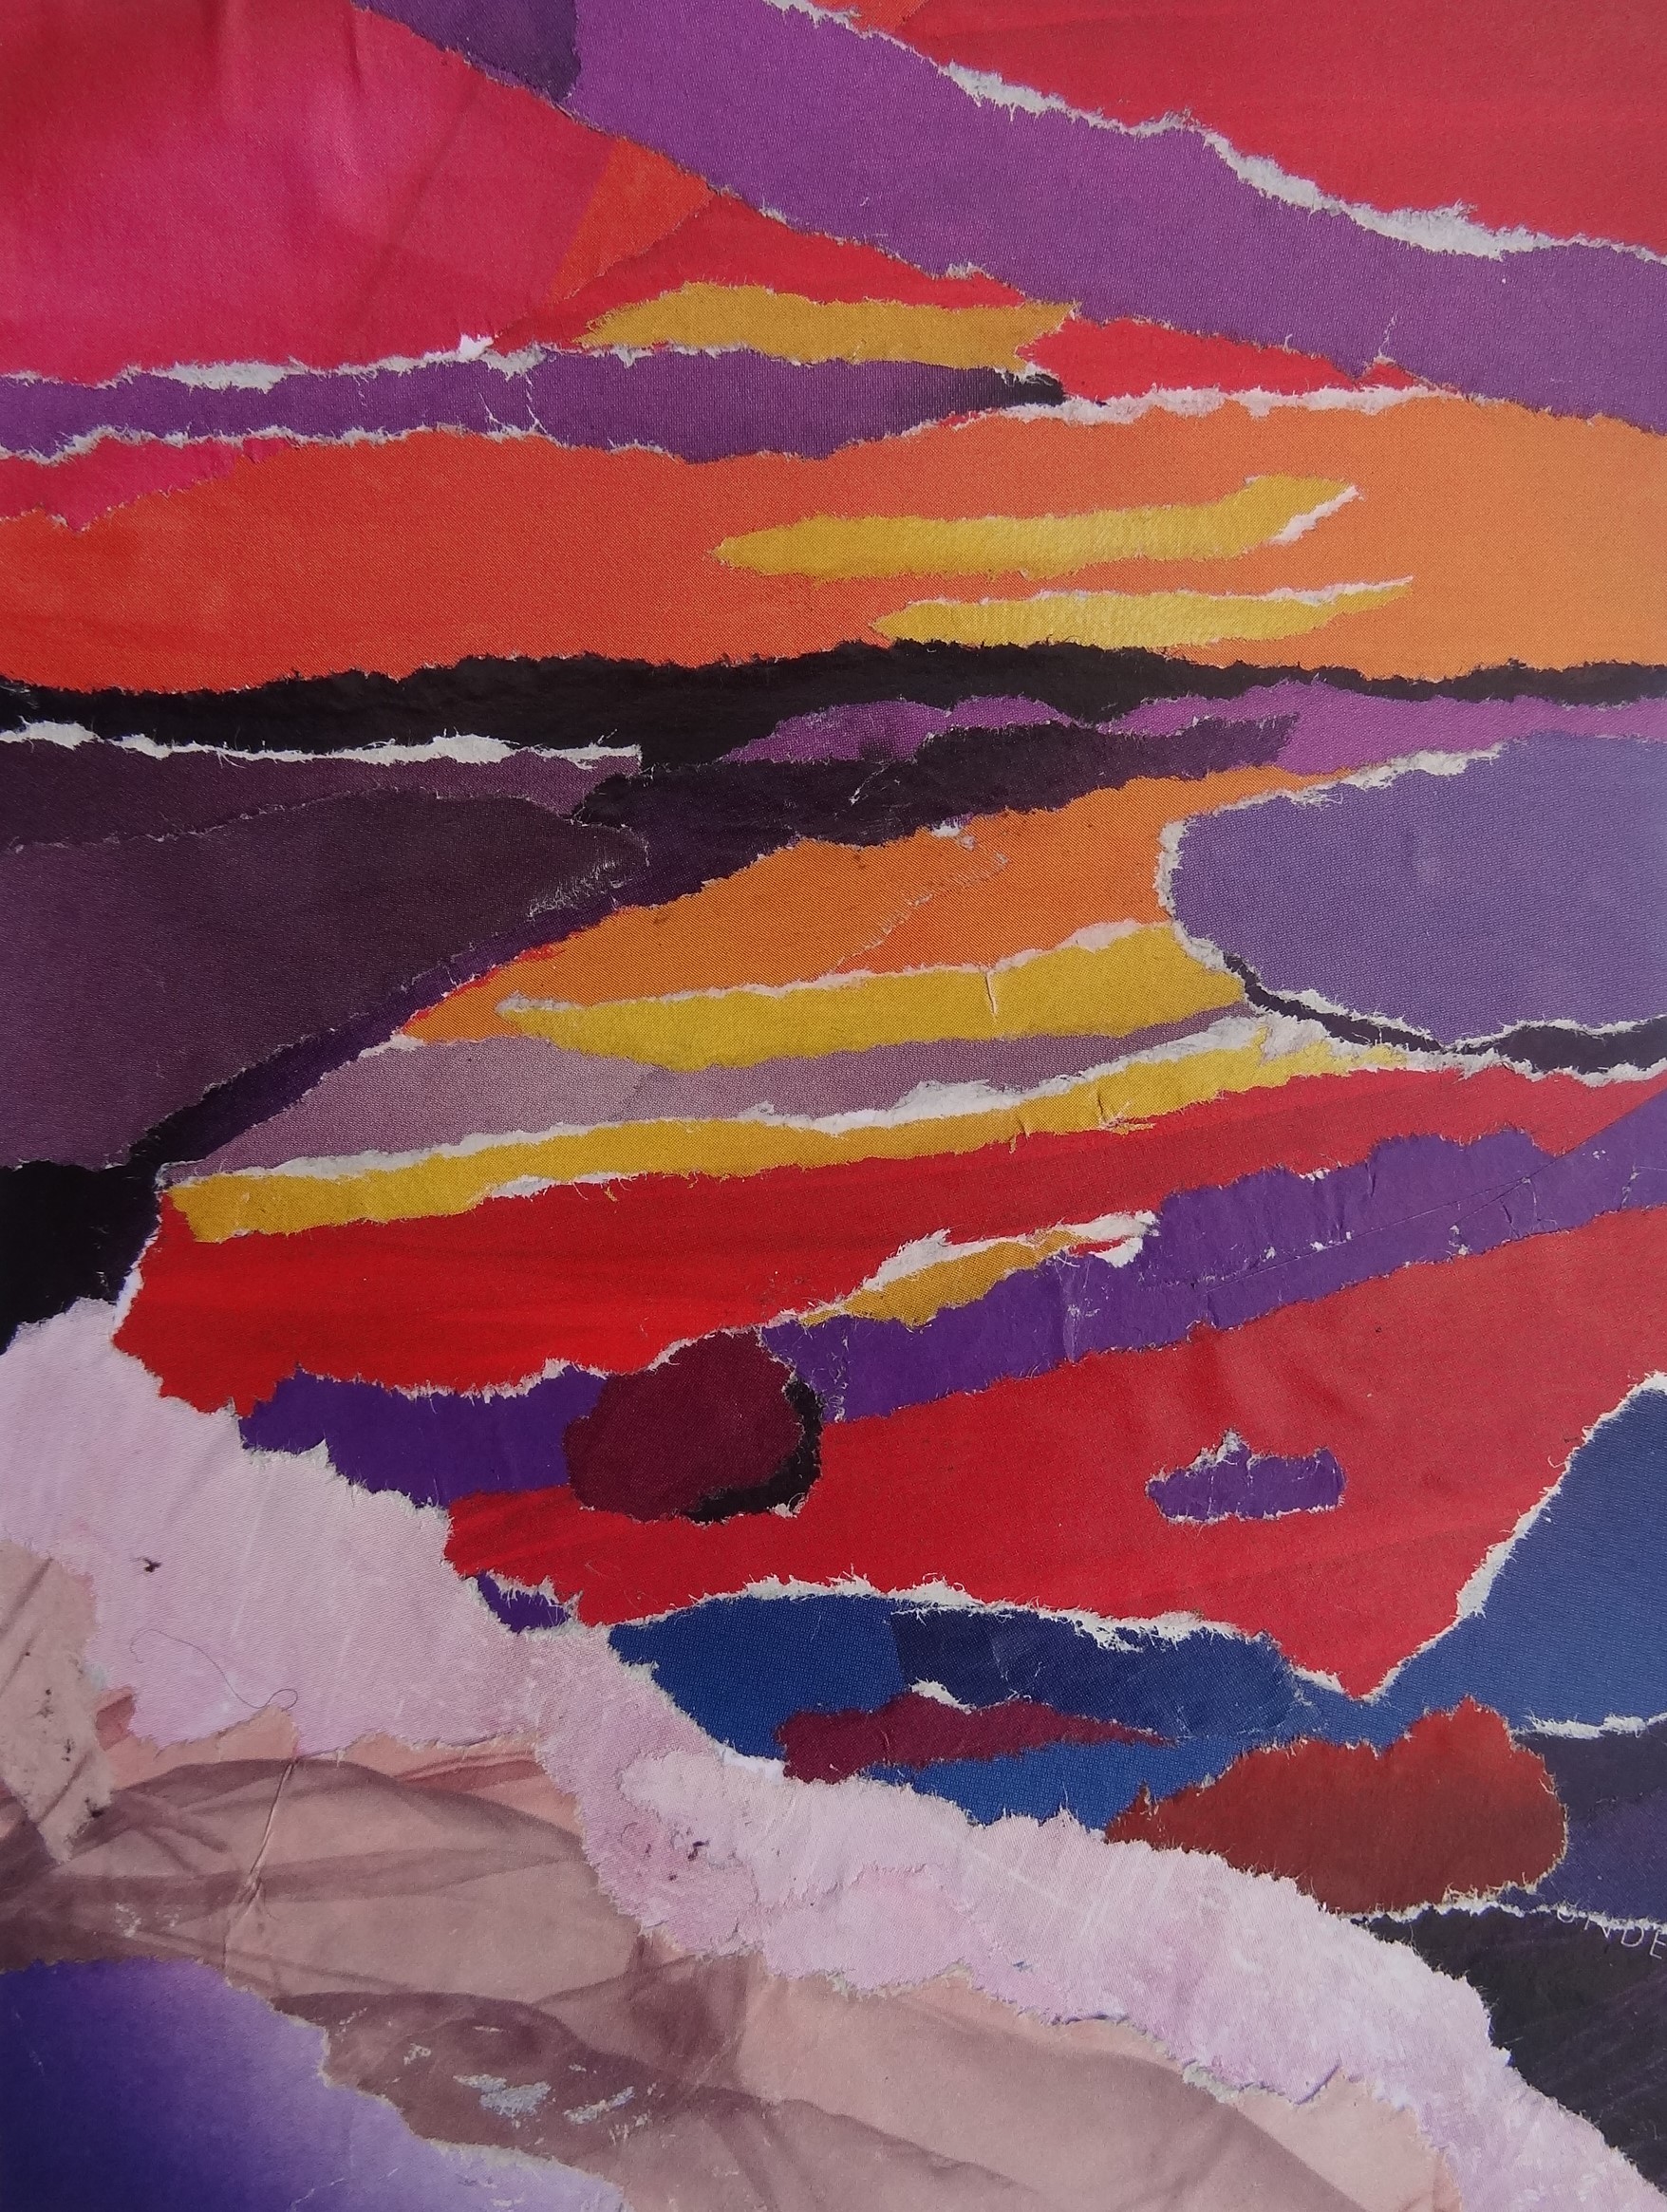
Activity 6 – Torn Paper Collage
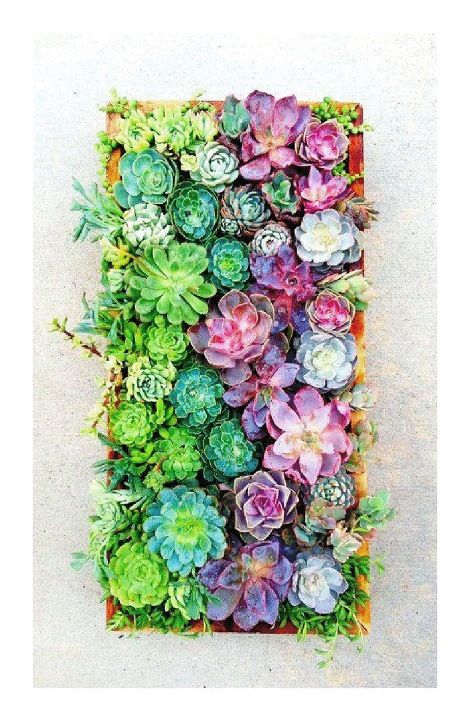
The remainder of the activities in this module were all based around a colourful picture. I chose this one:

(picture source http://diggers-colorful-world.tumblr.com/post/73865368635)
From this picture, a torn paper collage was produced. This activity involved accurate colour matching and looking at the size and shape of each area.

Activity 7 – Yarn Wrapping
The object was to match colours of yarn to the right hand side of the photograph and take into account the different proportions of colour. The 2nd wrapping is reversing the proportions of the colours.

Activity 8 – A Wrapped Frame
This was the same as activity 7 but the yarn wrappings were done for each edge of the picture.

Activity 9 – A Wrapped Landscape
I made things quite tricky for myself with this one as I made some of the individual elements of the picture too small. As Fiona, my tutor, rightly pointed out it would have worked better to make some of the areas bigger and combined the colours in their respective proportions.

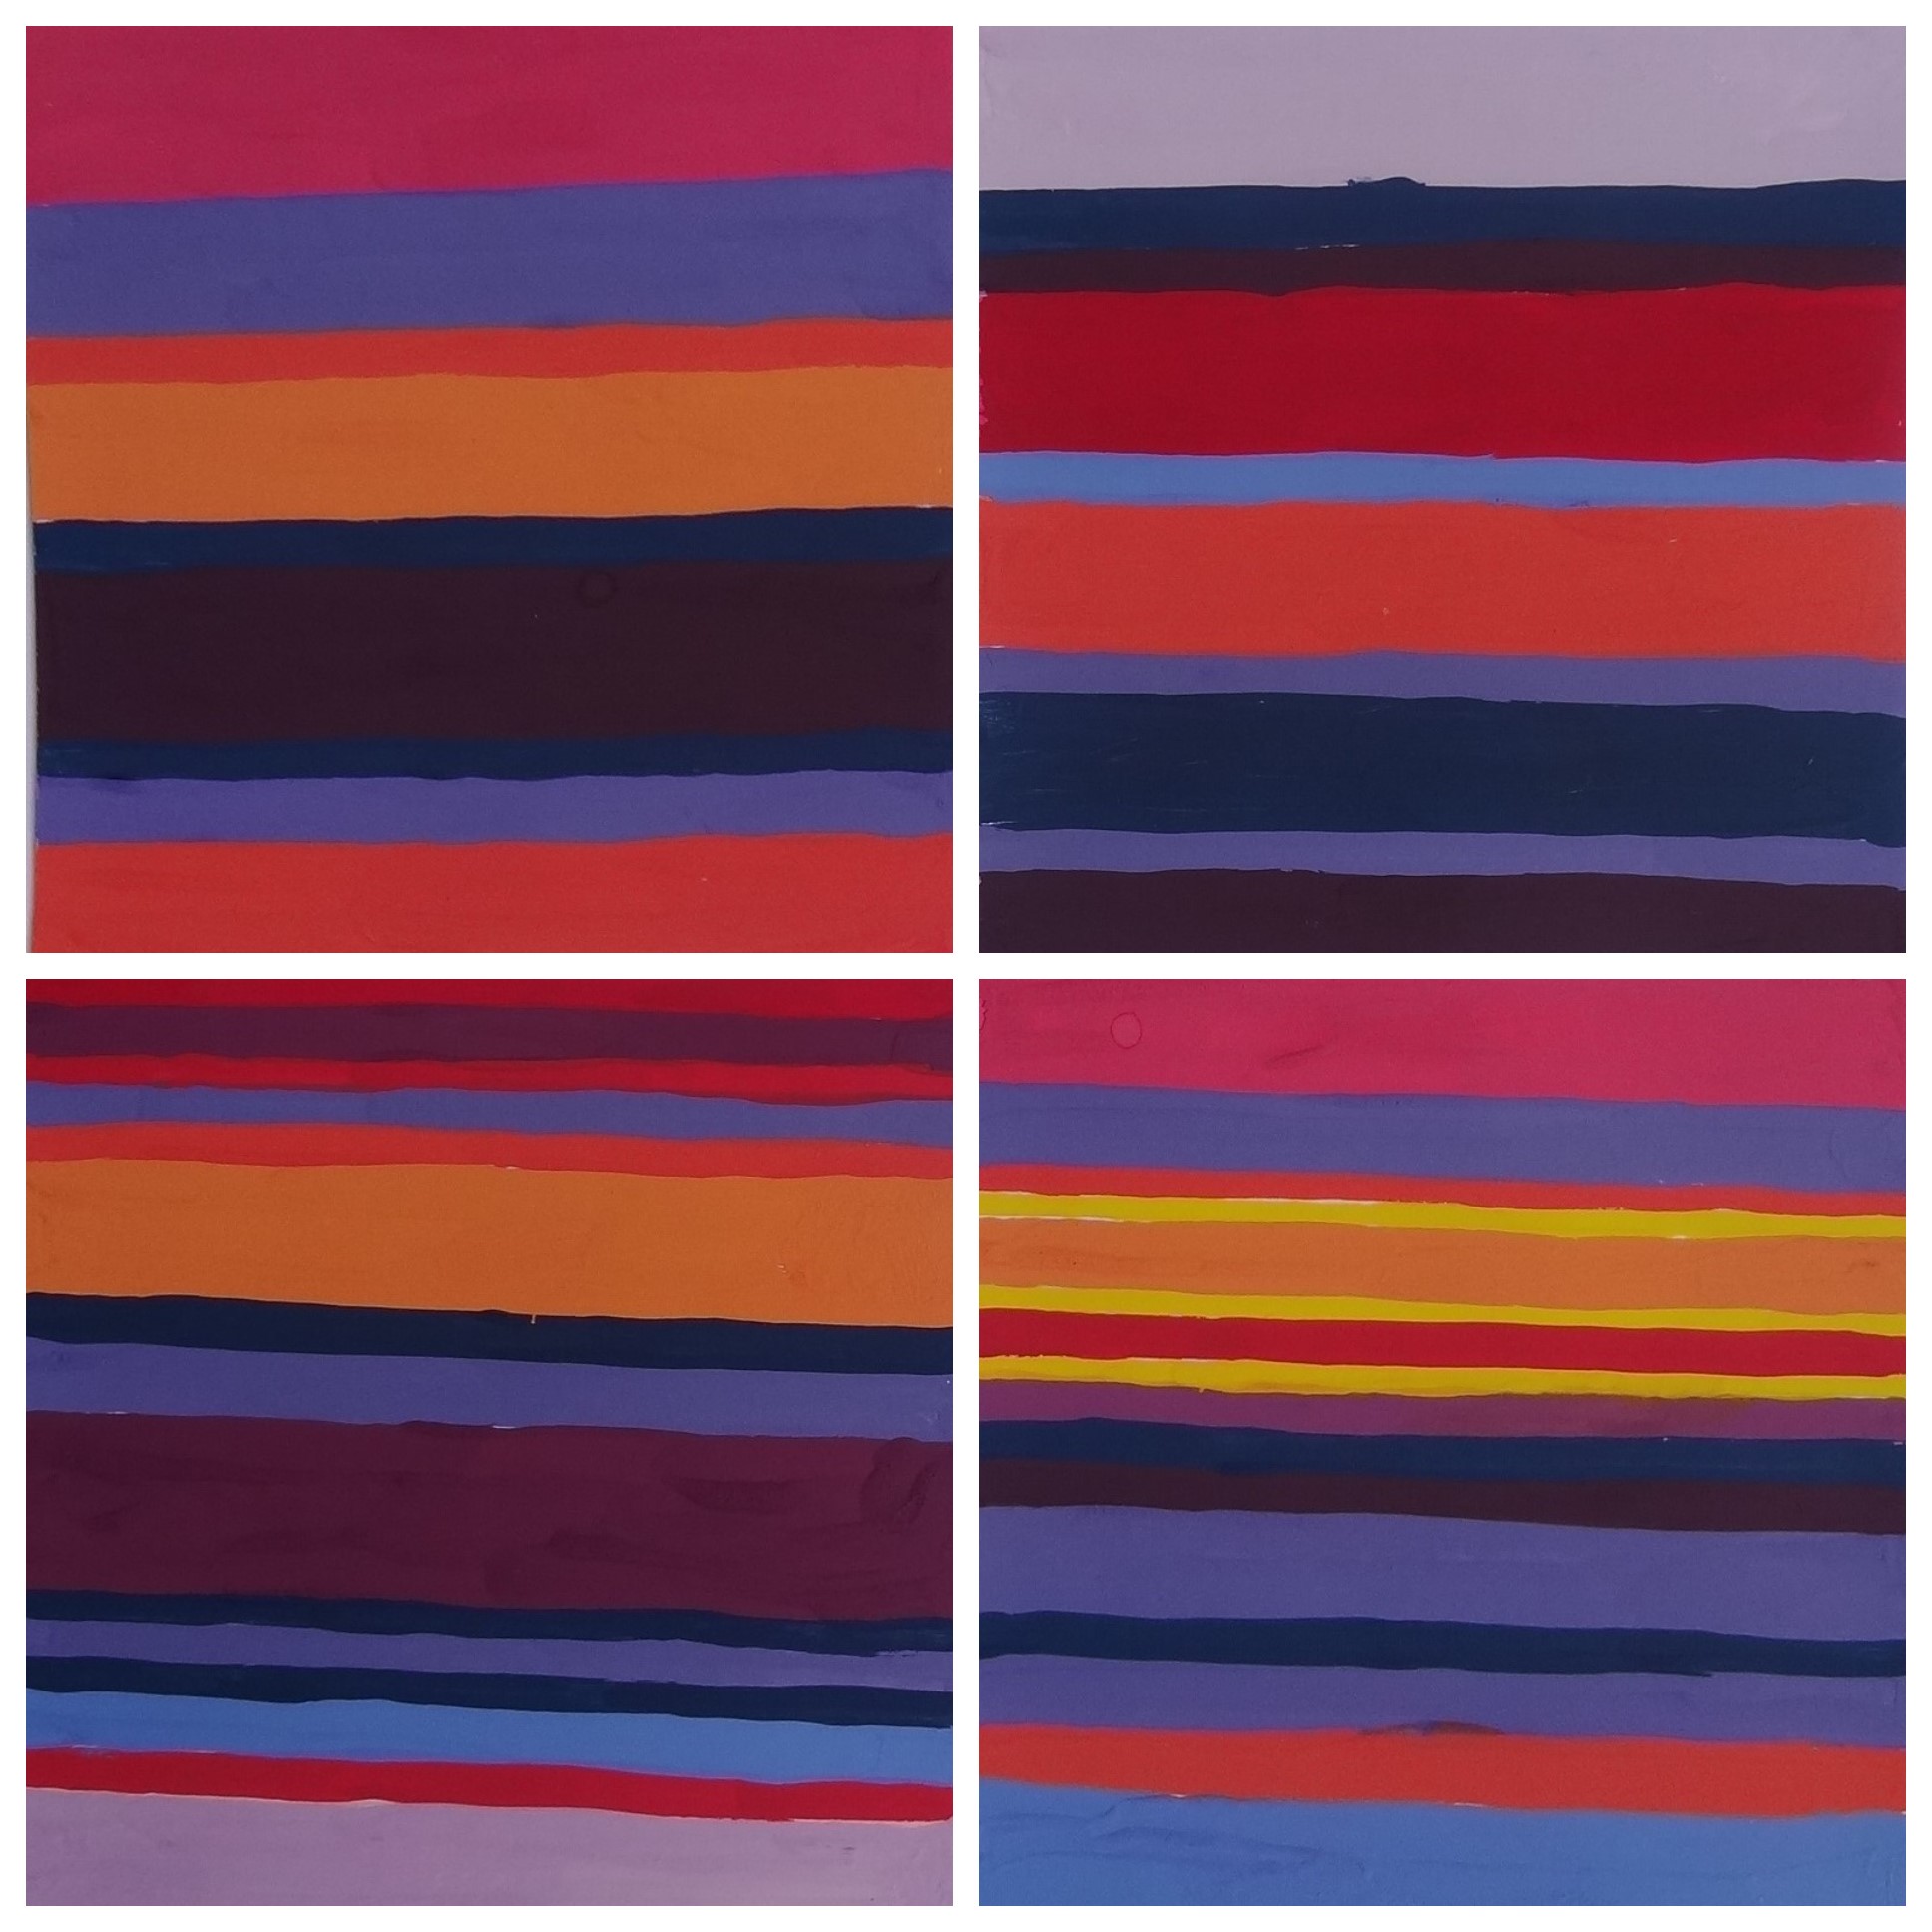
Activity 10 – Mixing Colours in Paint to Match a Picture
Gouache was used to paint different stripe sequences based on the yarn wrappings.

These stripes were then scanned onto the computer and arranged in different pattern sequences.

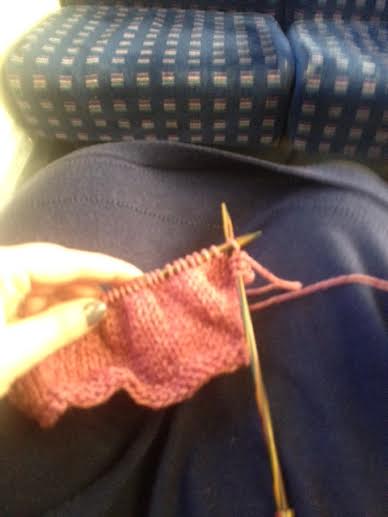
Activity 11 – Colour Mixing in Knitting
Finally a chance to get the needles out and start knitting! For this part a color sampler was produced using a range of yarns in one area of the colour wheel. There was a pattern to follow for the colour sampler and different stitches and techniques were explored to show how colours can be blended and mixed together. I made my sampler in 2 separate sections to make it easier to mount.


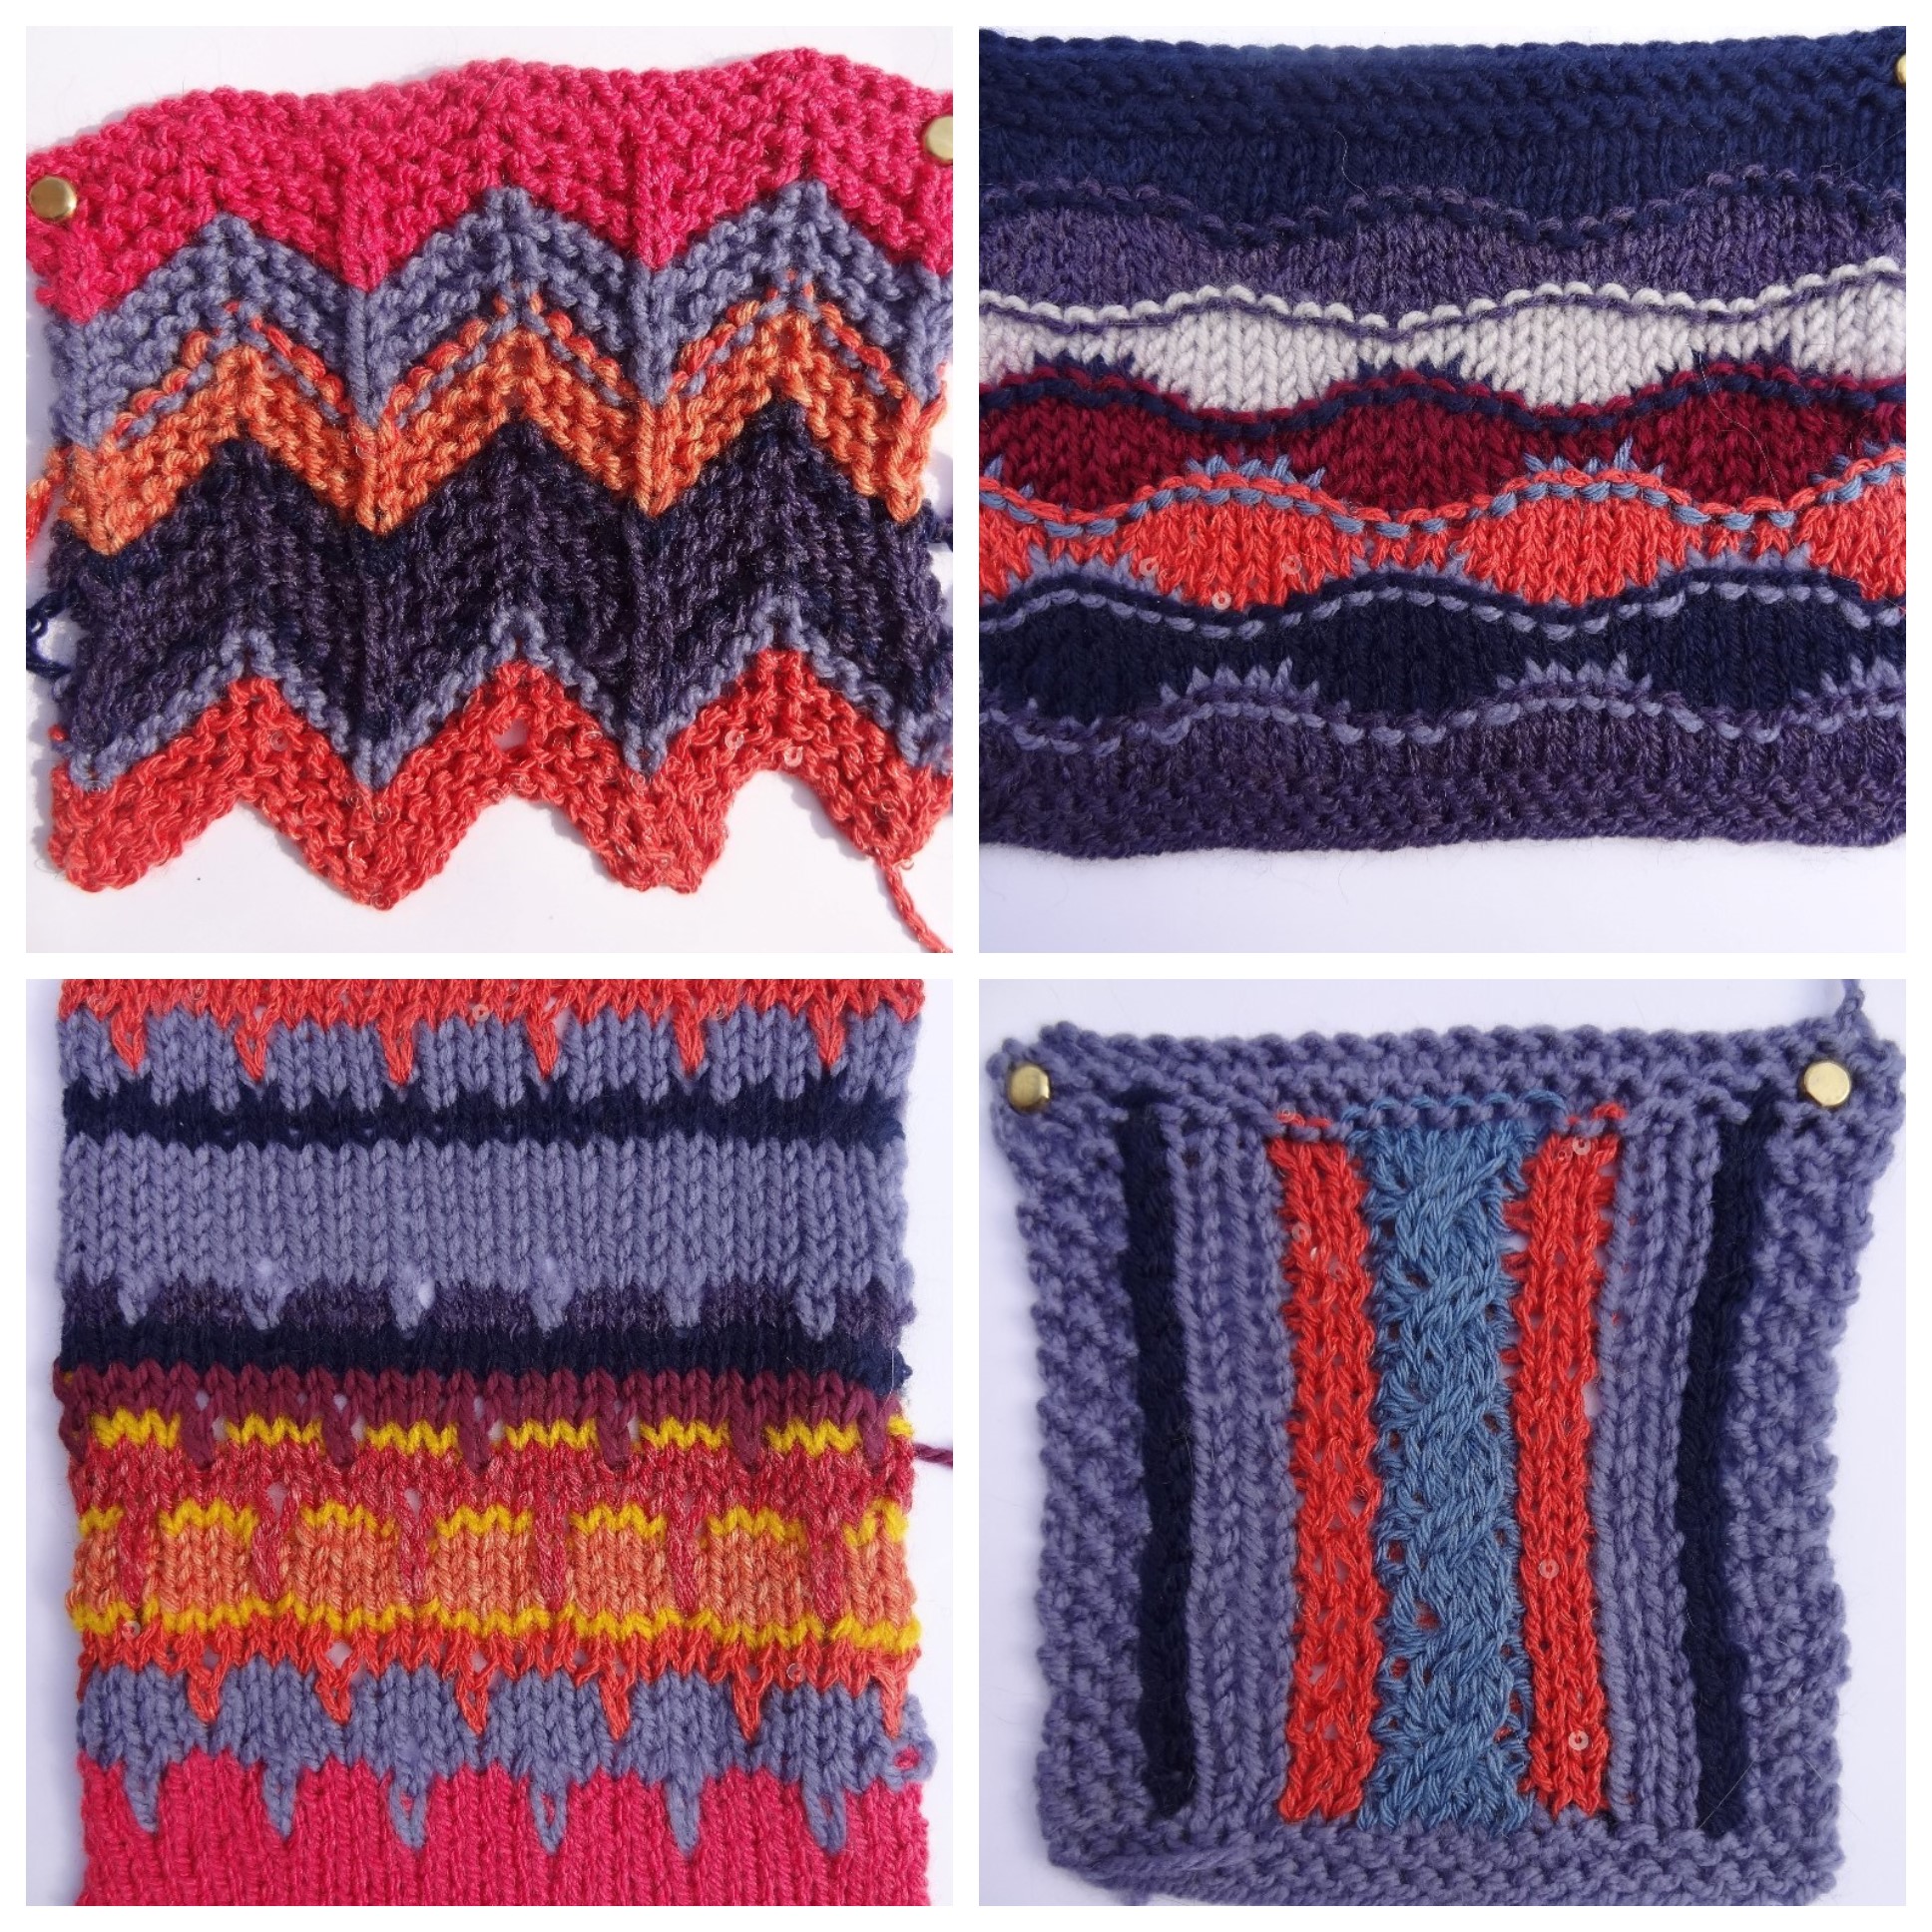
Activity 12 – Knitting Striped Patterns
Using the striped sequences from activity 10, I made a number of knitted samples using the colours from the yarn wrappings and some of the different techniques in the sampler, as well as some other techniques such as ripple stitch and dip stitch.

From these samples, I chose 1 (the dip stitch pattern) to develop further into a resolved piece. The course states that ‘A resolved piece is a ‘high spot’ in your design experimentation. A decorative design that could be applied to a variety of craft items e.g. a print on a scarf, indentations around a ceramic pot, an embroidered or stitch pattern on a wall hanging or quilt etc.’
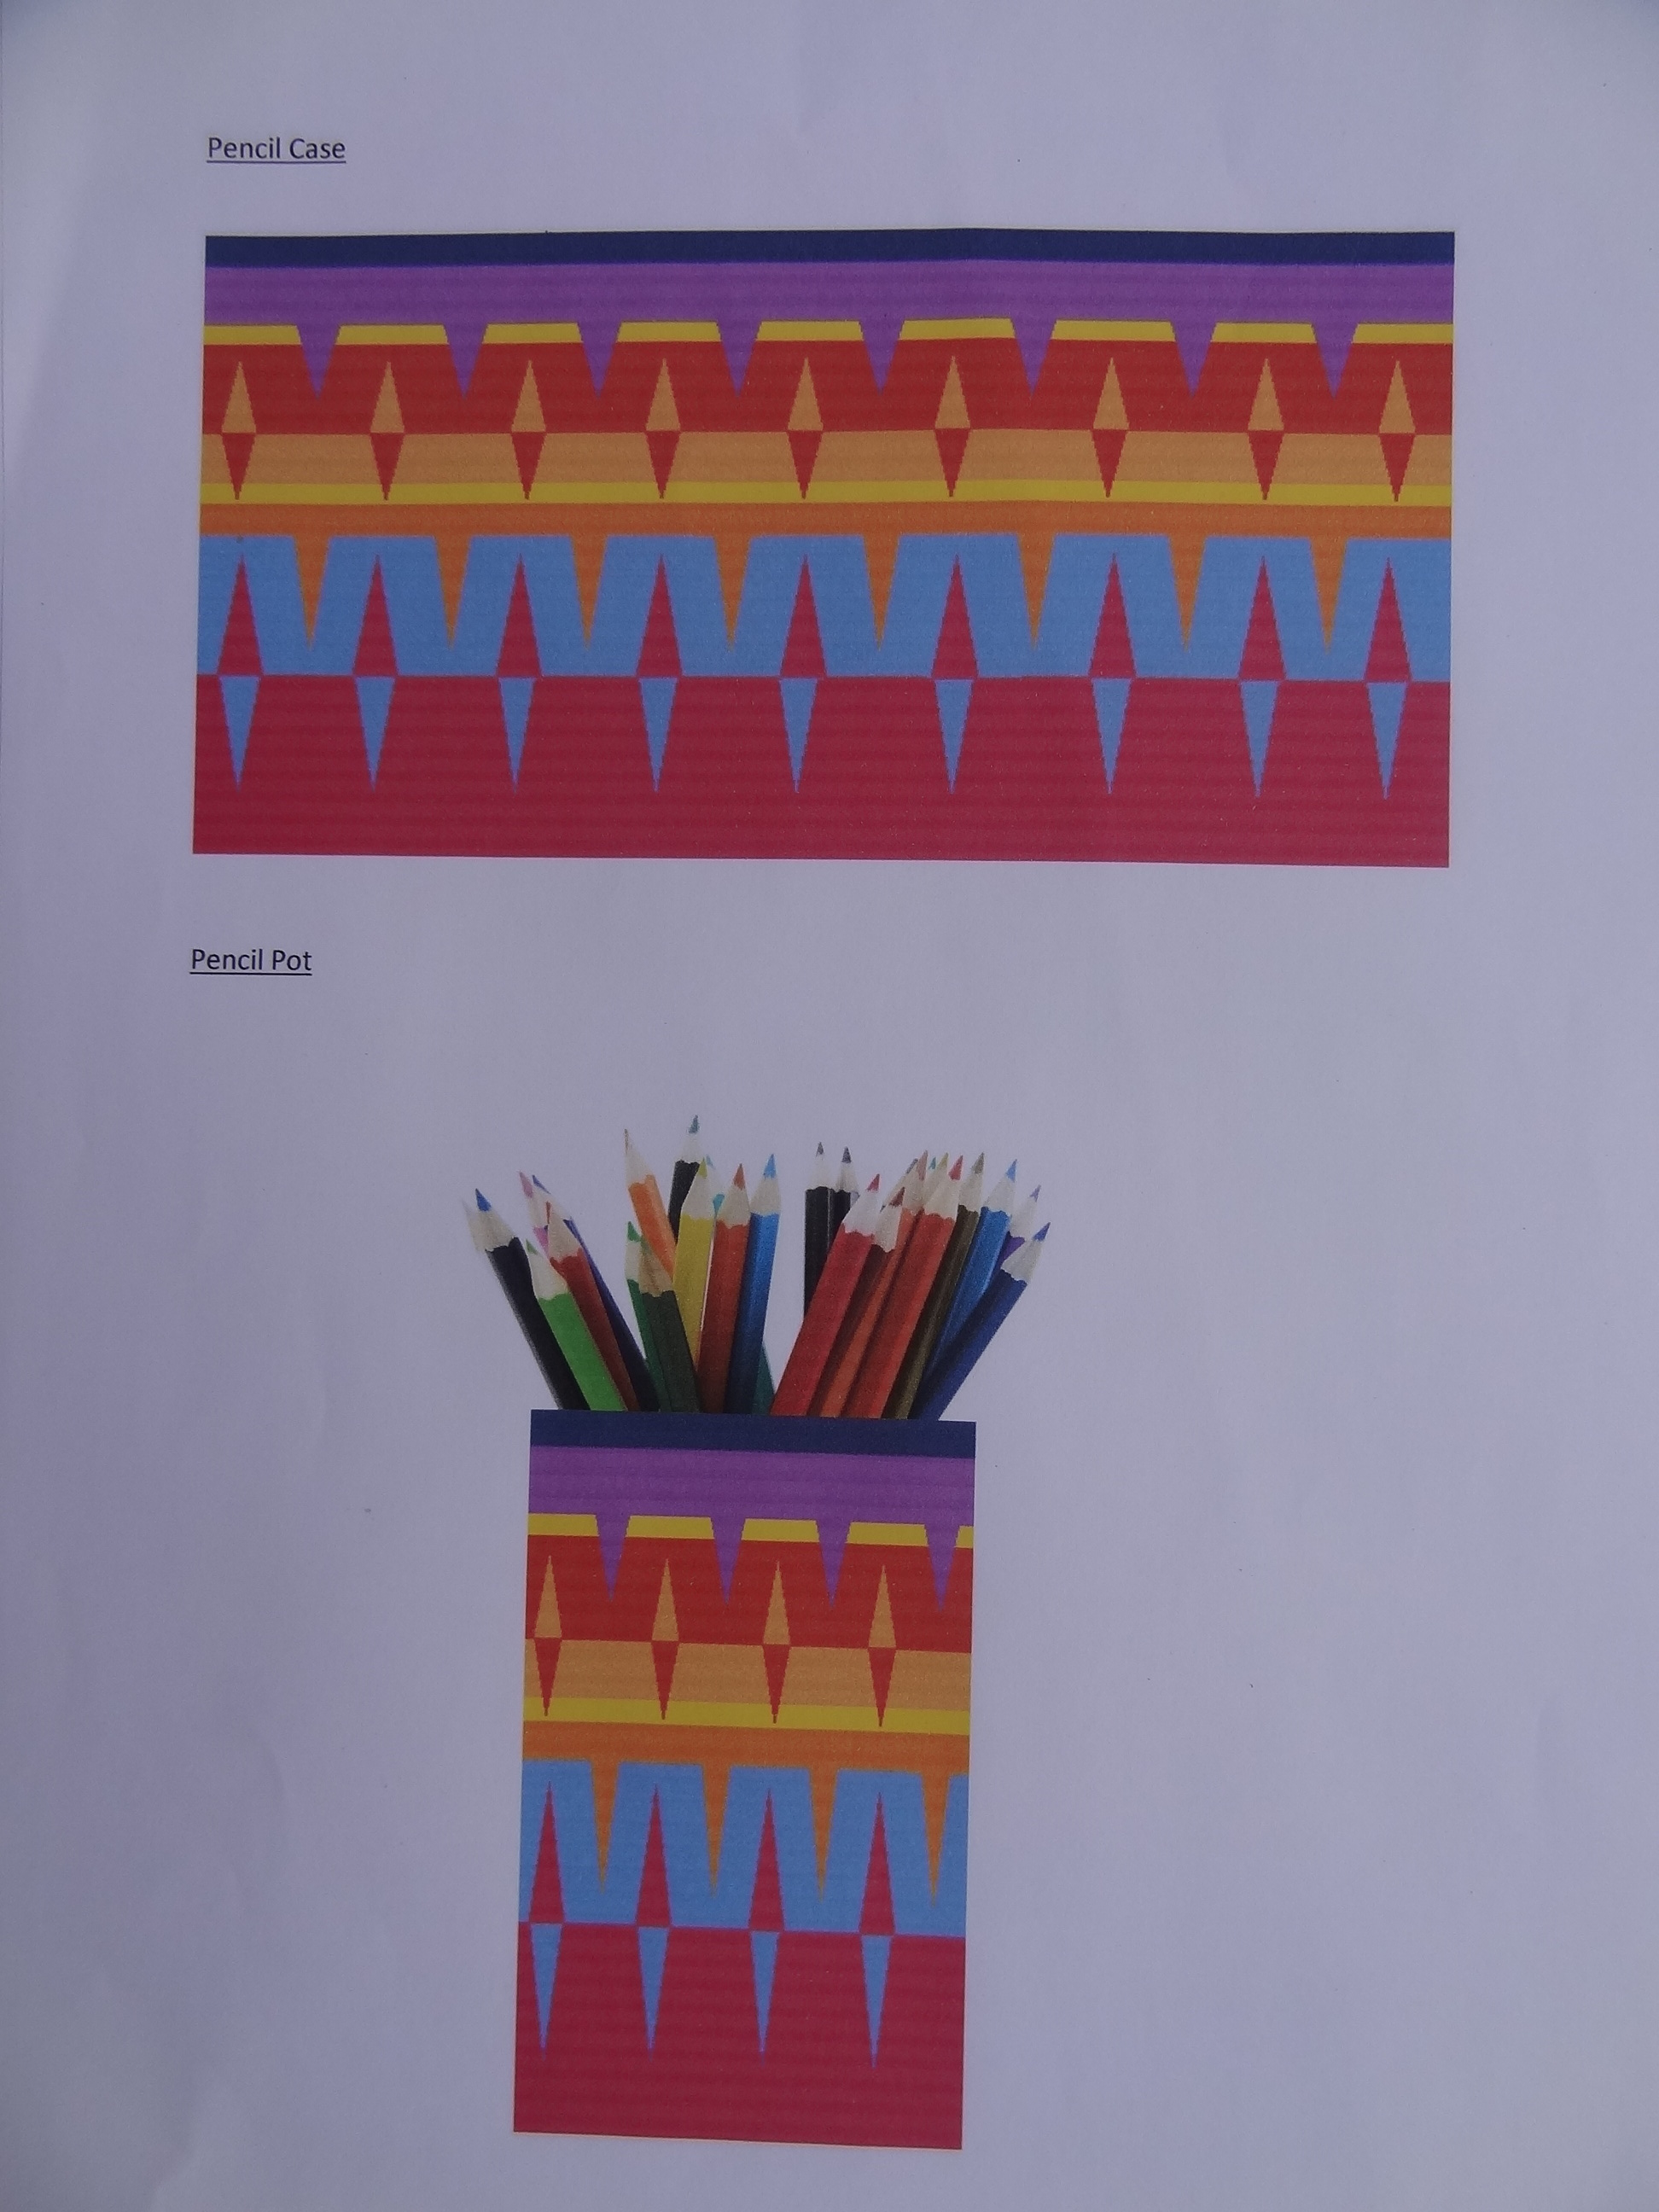
I experimented with the dip stitch pattern using watercolours, tissue paper and paints before making a paper collage which I then used as the basis for my final design.

My resolved piece was a bright, fun design that could be used on a range of stationery items.


However in hindsight I think that it would make a lovely vibrant rug!
So that was Module 4. I must admit I procrastinated with this module and it took me about a year to complete. My tutor Fiona told me last month that C&G are not allowing people to re-register on the courses now so I have until May 2017 to complete the whole course…it sounds like a long time but I have 7 and a half modules left to go – eek! The good news is I am already working on my resolved piece for module 5 🙂
Happy Knitting! x