I had some great news this week. I received the feedback for module 2 of the C&G course and everything was completed and passed – yay! I will post pics of my samples once they have been returned.
With a renewed motivation thanks to the C&G Ravelry Group I have been beavering away at module 3 and the end really is in sight now. I have discovered that the problem I have is that for every module so far I have knit up ALL the samples for the entire module in one go. Which then becomes a bit of a chore when it comes to writing them up as the notes are not easy to find and it’s hard to remember what you have done. It’s taken me ages to get them all written up and presented!
Someone on the group had a great tip for overcoming this which is to attach little tags to each sample detailing the yarn used, needle size, sample size, etc etc,. I will definitely be doing this in module 4.
Rather frustratingly I ended up having to re-knit all of my double decrease samples as I have no idea where I put my notes and I couldn’t decipher what method I had used just by looking at them. however, this turned out to be a really helpful exercise for me. Double decreases are used a lot in lace knitting, but because they are often teamed with a yarn over or 2 I have never really understood the difference of each method – surely 1 double decrease has the same effect as another right? Not so.
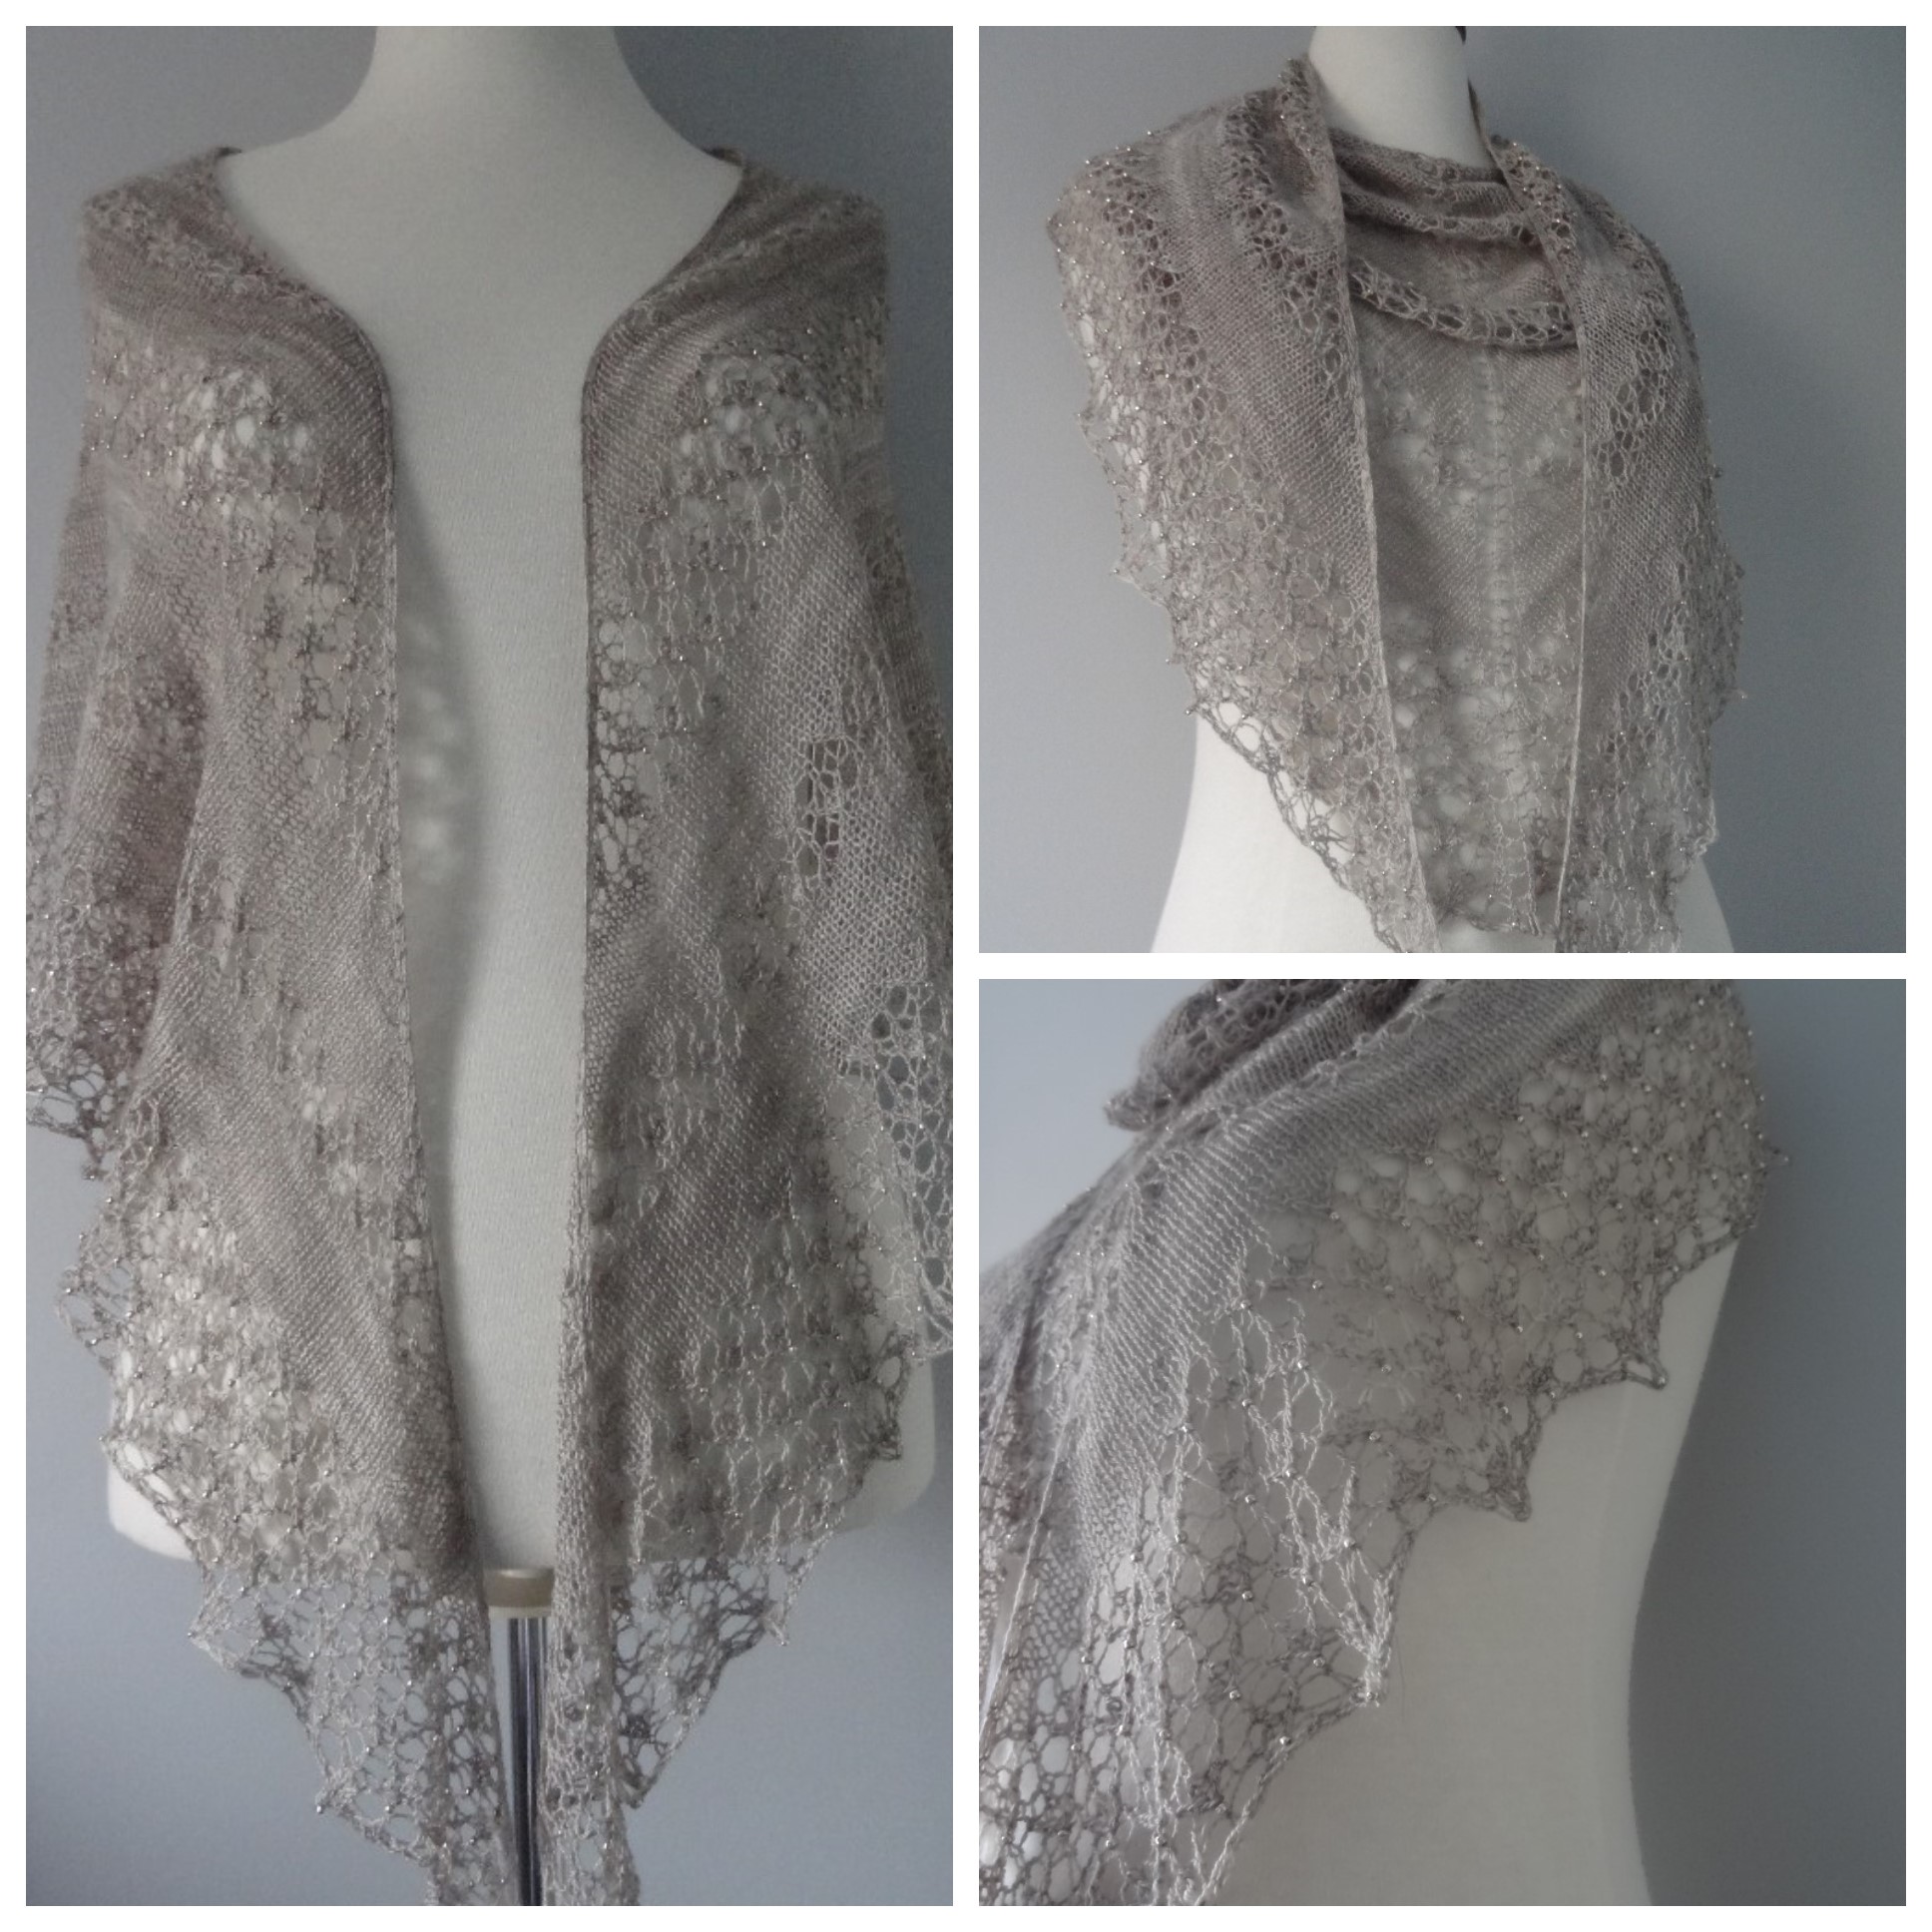
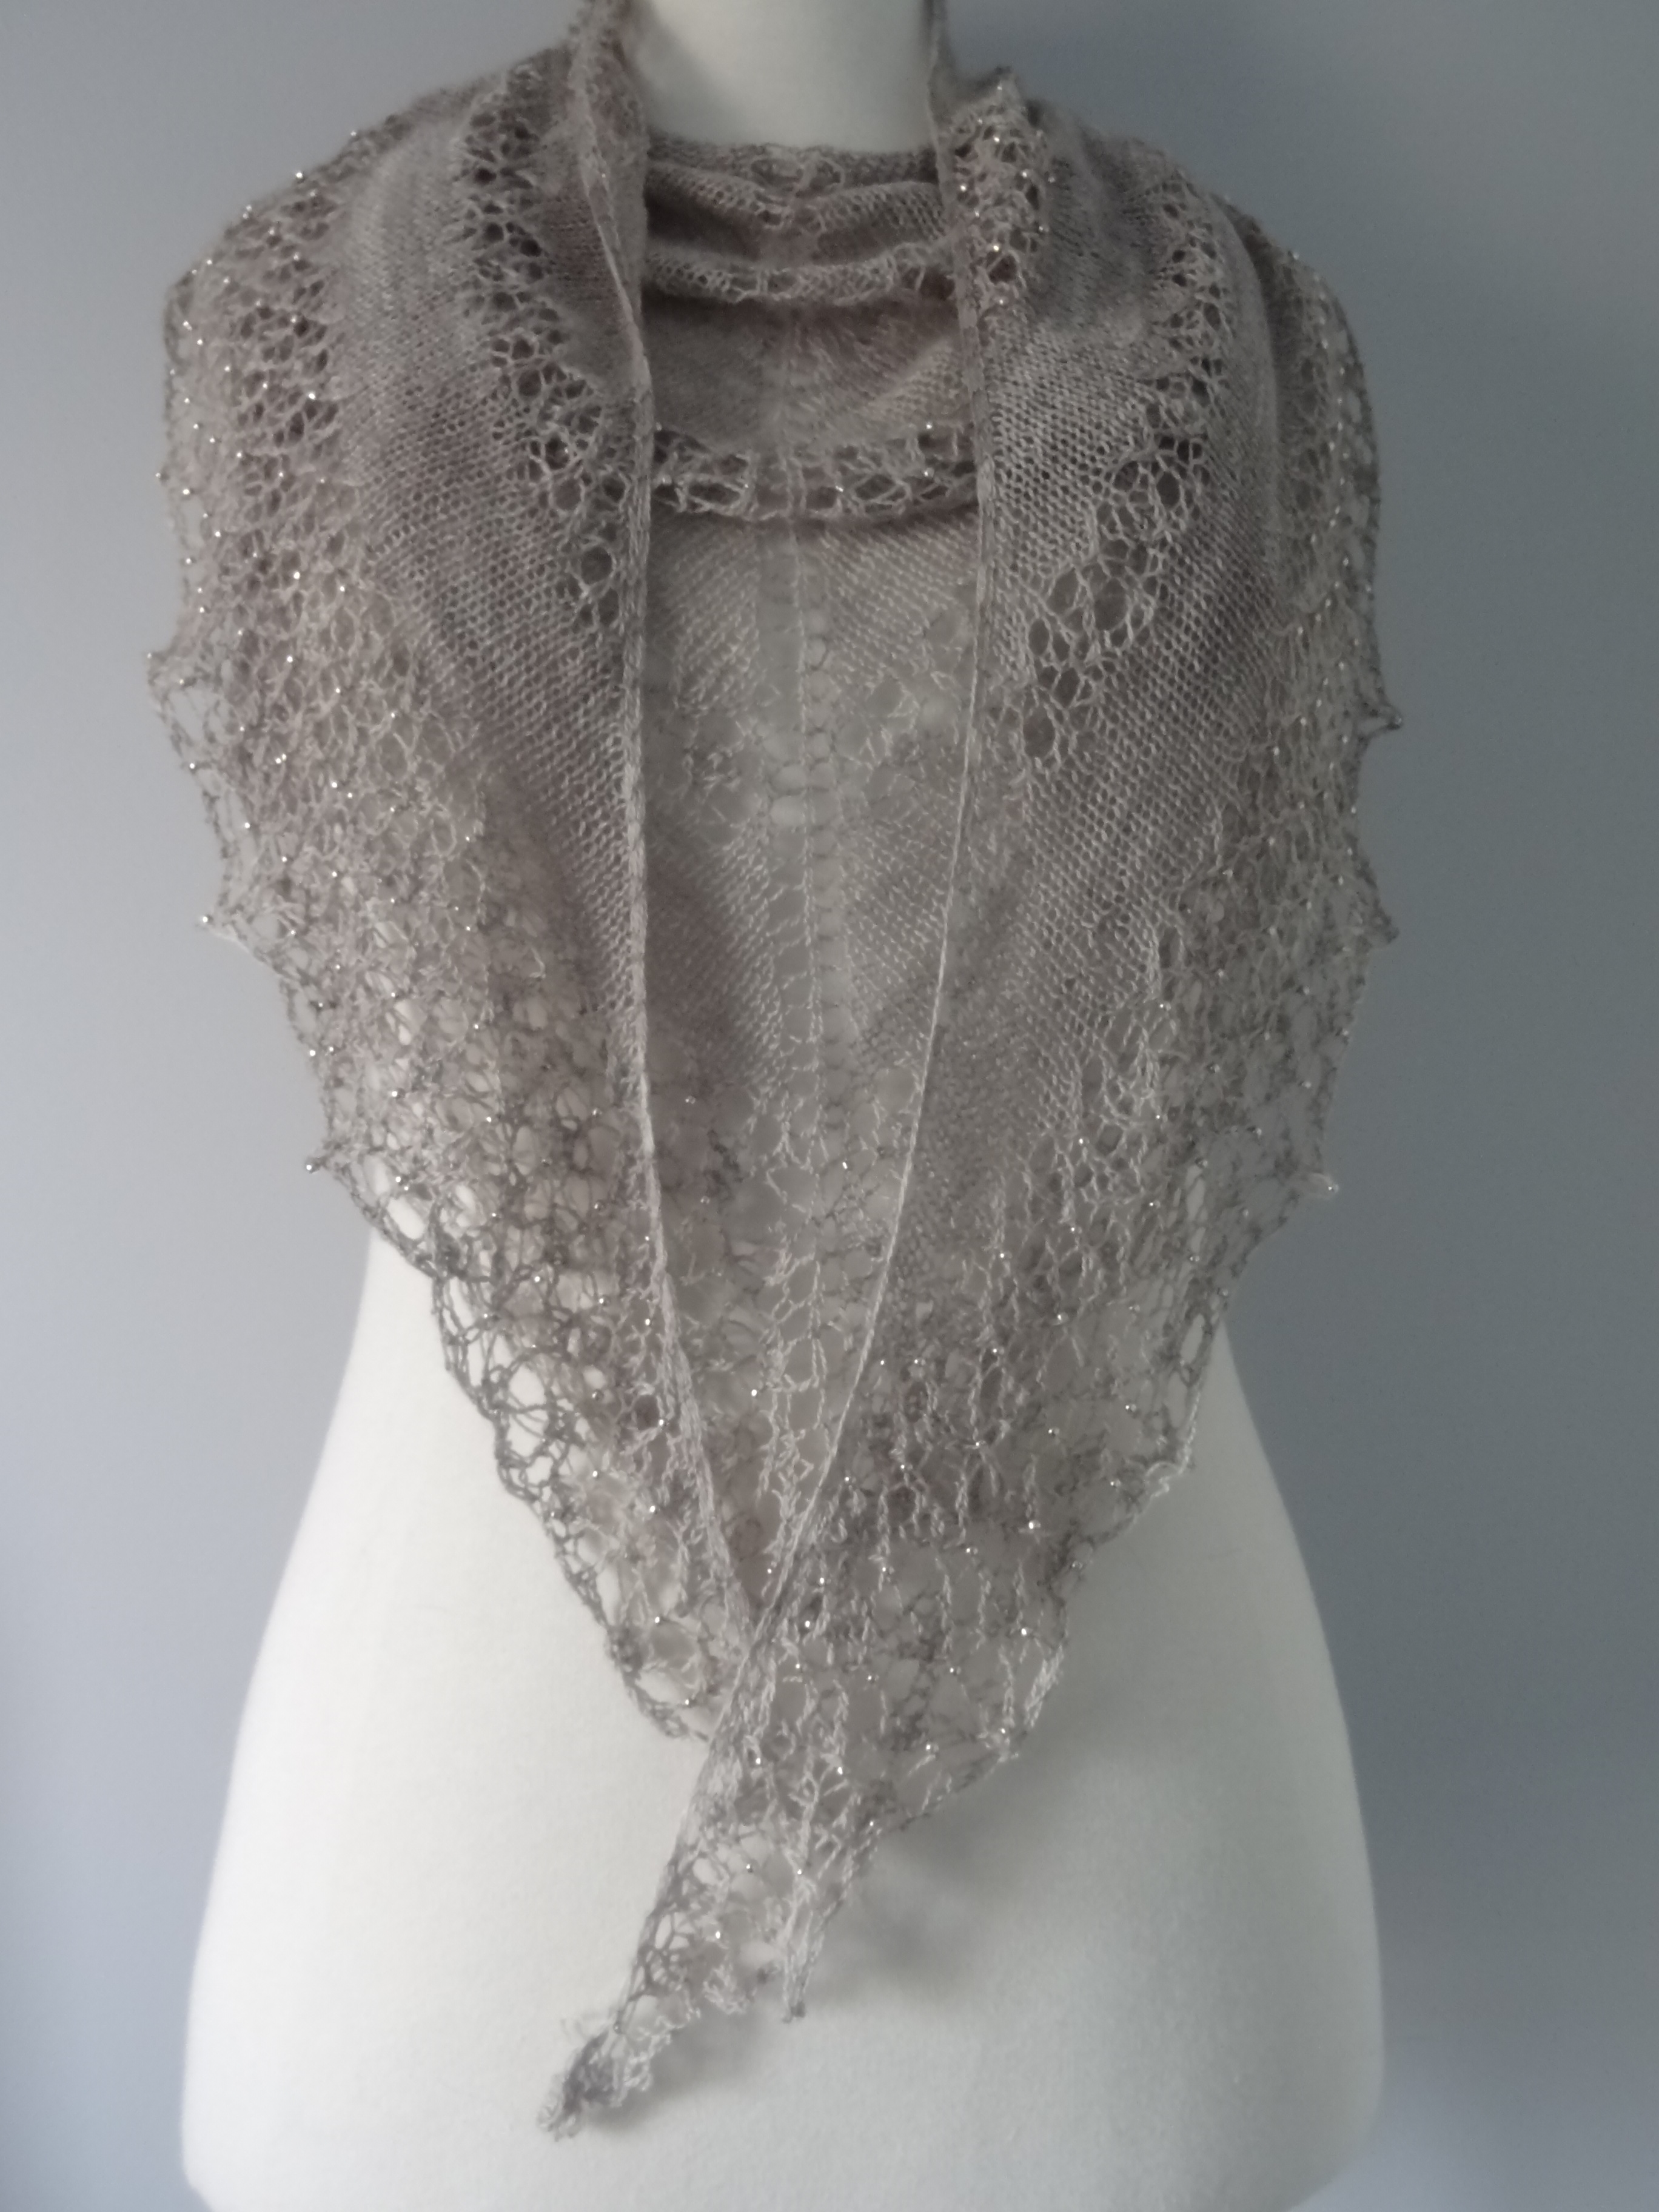
I sampled the 3 different double decrease methods that I am using in my Spring Haze wrap.
Sample 1 – K3tog
Cast on an odd amount of stitches and PM one stitch before the centre stitch. On each knit row knit up to the marker and then insert the needle into the next 3 stitches and knit them all together.

Here you can clearly see that by knitting the 3 stitches together it will create a ridge of stitches that slant to the right.
Sample 2 – Sl1-K2tog-Psso (or SK2P)
Cast on an odd amount of stitches and PM one stitch before the centre stitch. On each knit row knit up to the marker and then slip one stitch knitwise. Knit the next 2 sts together and then pass the slipped stitch over the knitted stitch (as if binding off).

Here the stitches lie a little flatter than the K3tog and the left slants of each stitch are clearly defined.
Sample 3 – Sl2tog-k1-p2sso (or Raised Double Decrease)
Cast on an odd amount of stitches and PM one stitch before the centre stitch. On each knit row knit up to the marker and then slip 2 sts together knitwise. Knit the next st and then pass the slipped stitch over the 2 skipped sts (as if binding off).

The middle stitch is raised and perfectly centered with no slant.
Of course, there are other ways to do double decreases but I chose these 3 as they are the most common ones I have encountered.
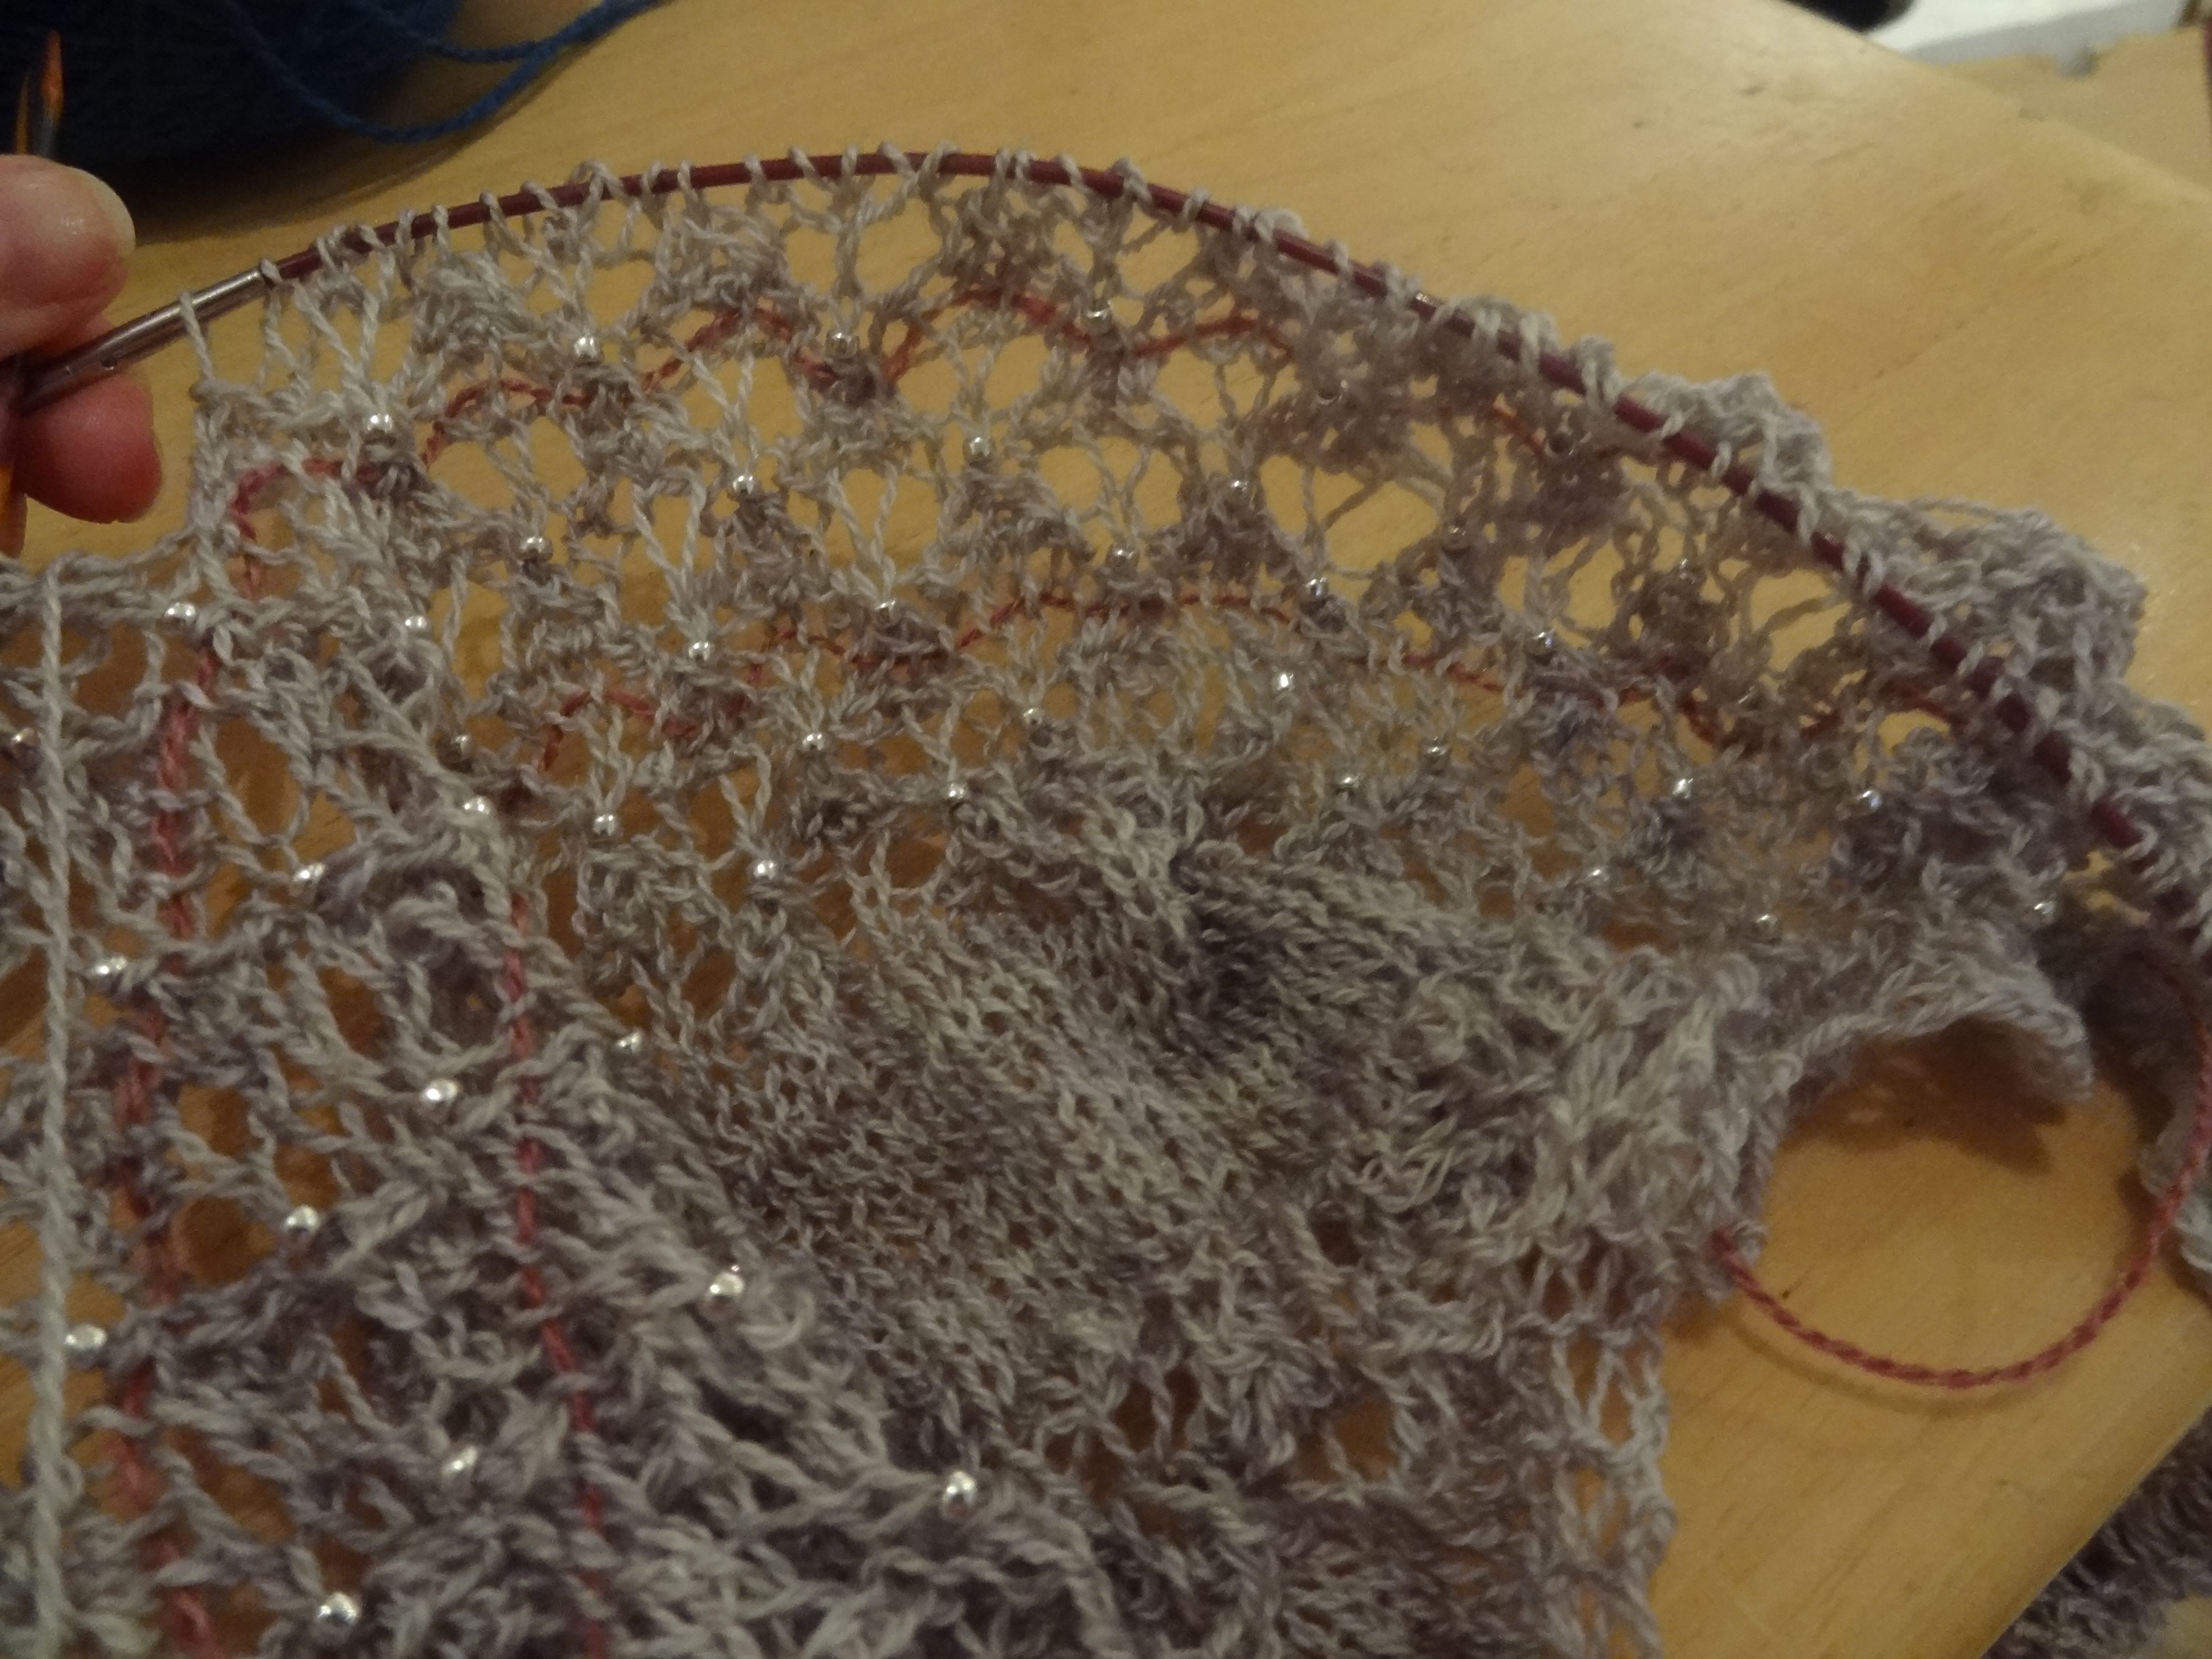
Here are the first 2 samples worked in a lace pattern where you can clearly see the different effect of each method.

Another really interesting single decrease technique I came across was the Bias Decrease. I stumbled across this on the Superneedles Knitting Adventures Blog and it’s such a pretty decrease I just had to try it out!
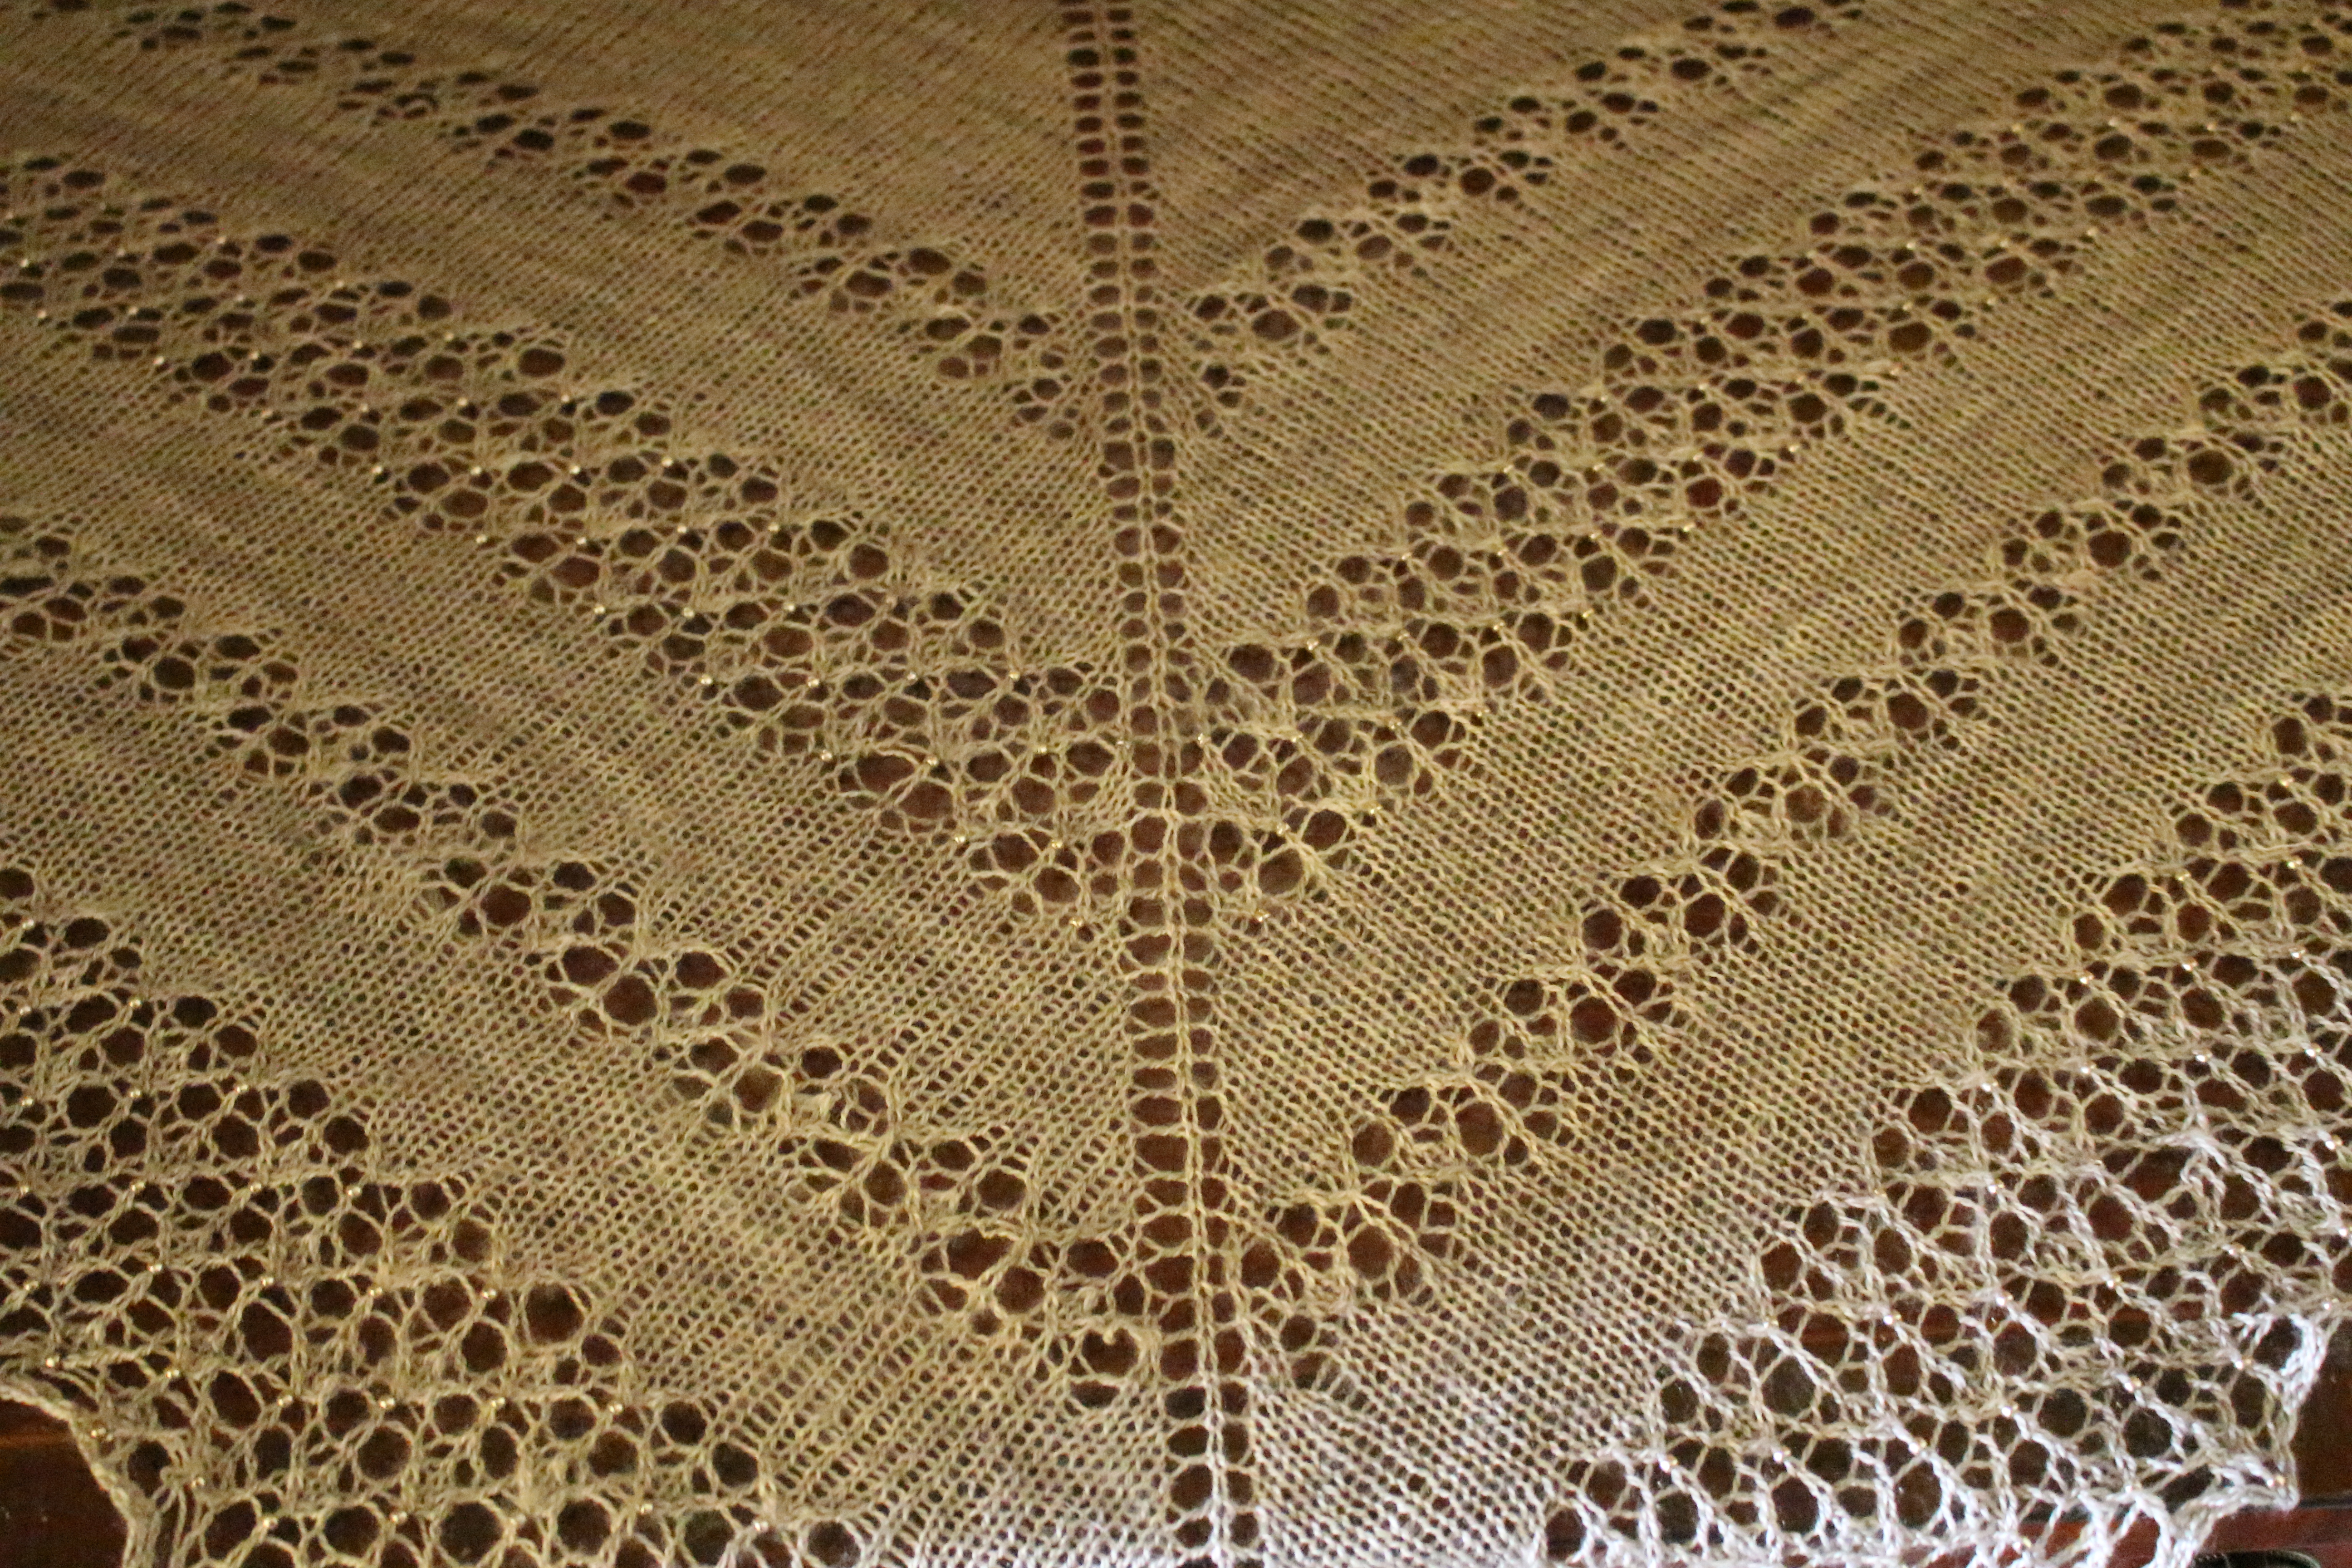
Bias Decrease
This effect is created by increasing a stitch at the beginning and end of every 2 rows and then making a double decrease to pull the edge stitches together at a slant. Instructions can be found here


So pretty don’t you think?